Want Old Patio Congrete to Look New Again
Update your concrete patio with rust-oleum, and I will show you how!
If you've been following forth for a while, then you might remember that nosotros've been working on projects to ready up the exterior of our house since the bound.
I shared the whole "earlier" of our exterior as well as our plans to improve information technology early on in the flavor. So far nosotros accept worked on the deck; the pea gravel burn down pit, the siding (which our carpenter is working on in the front end, now), the exterior trim, and the front thousand lawn, river rock garden, split rails fence, and side shade garden.
One of the terminal things we managed to squeeze in this year before "the weather" arrived was the makeover of our lower patio. The before of this patio area from when I shared all my plans for the outside of our house and the g shows how it looked mid-way into the deck reconstruction process…
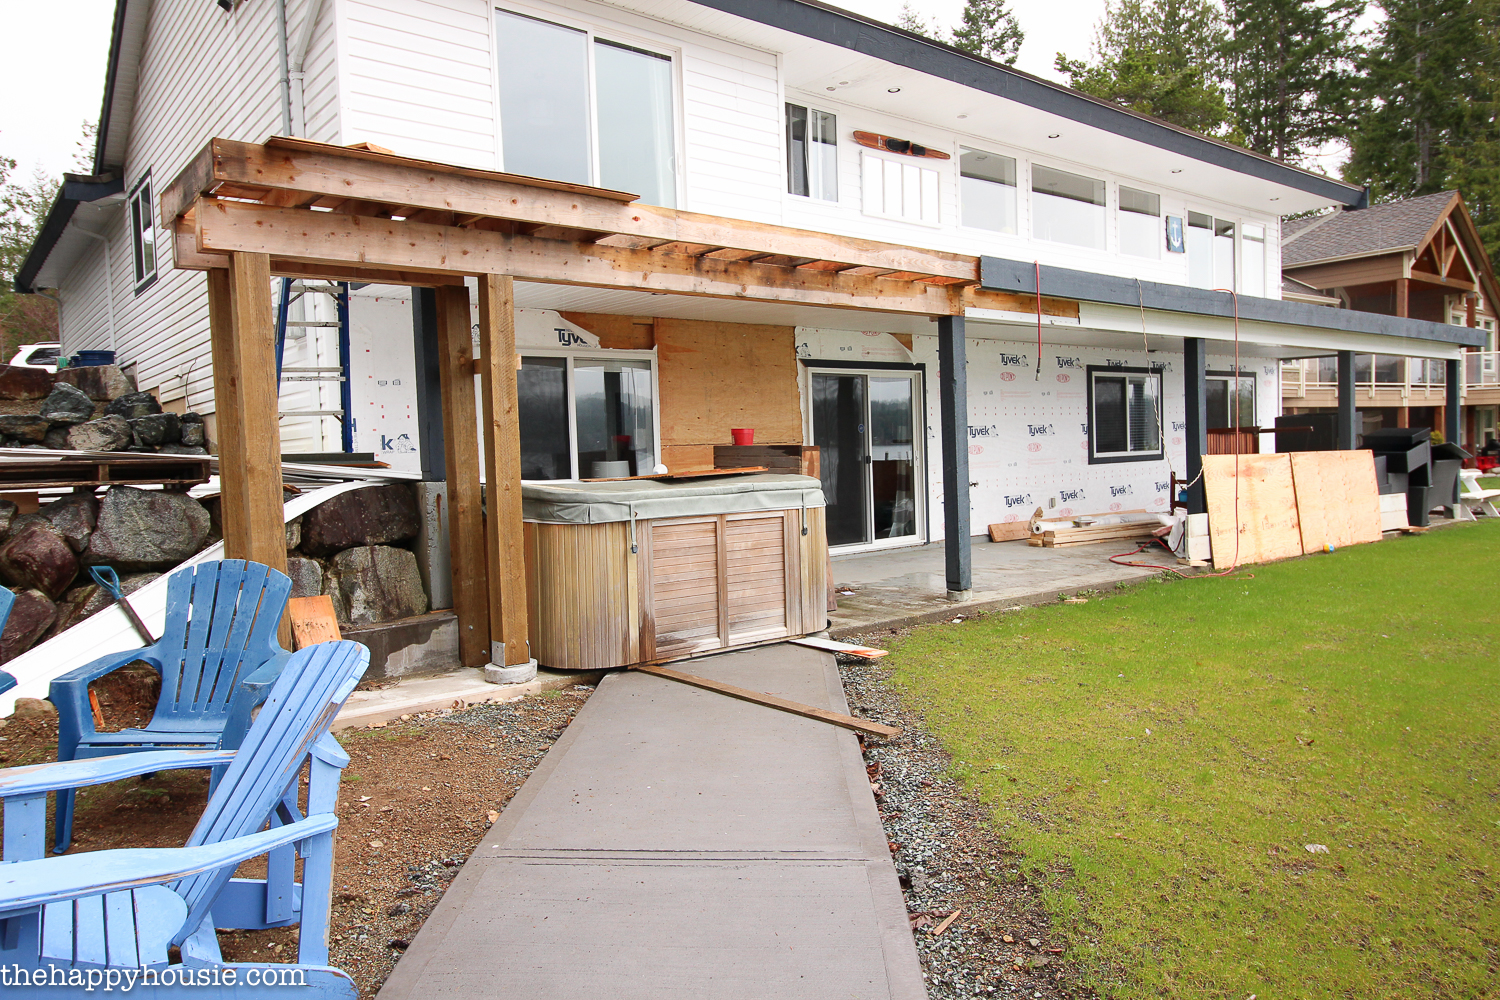
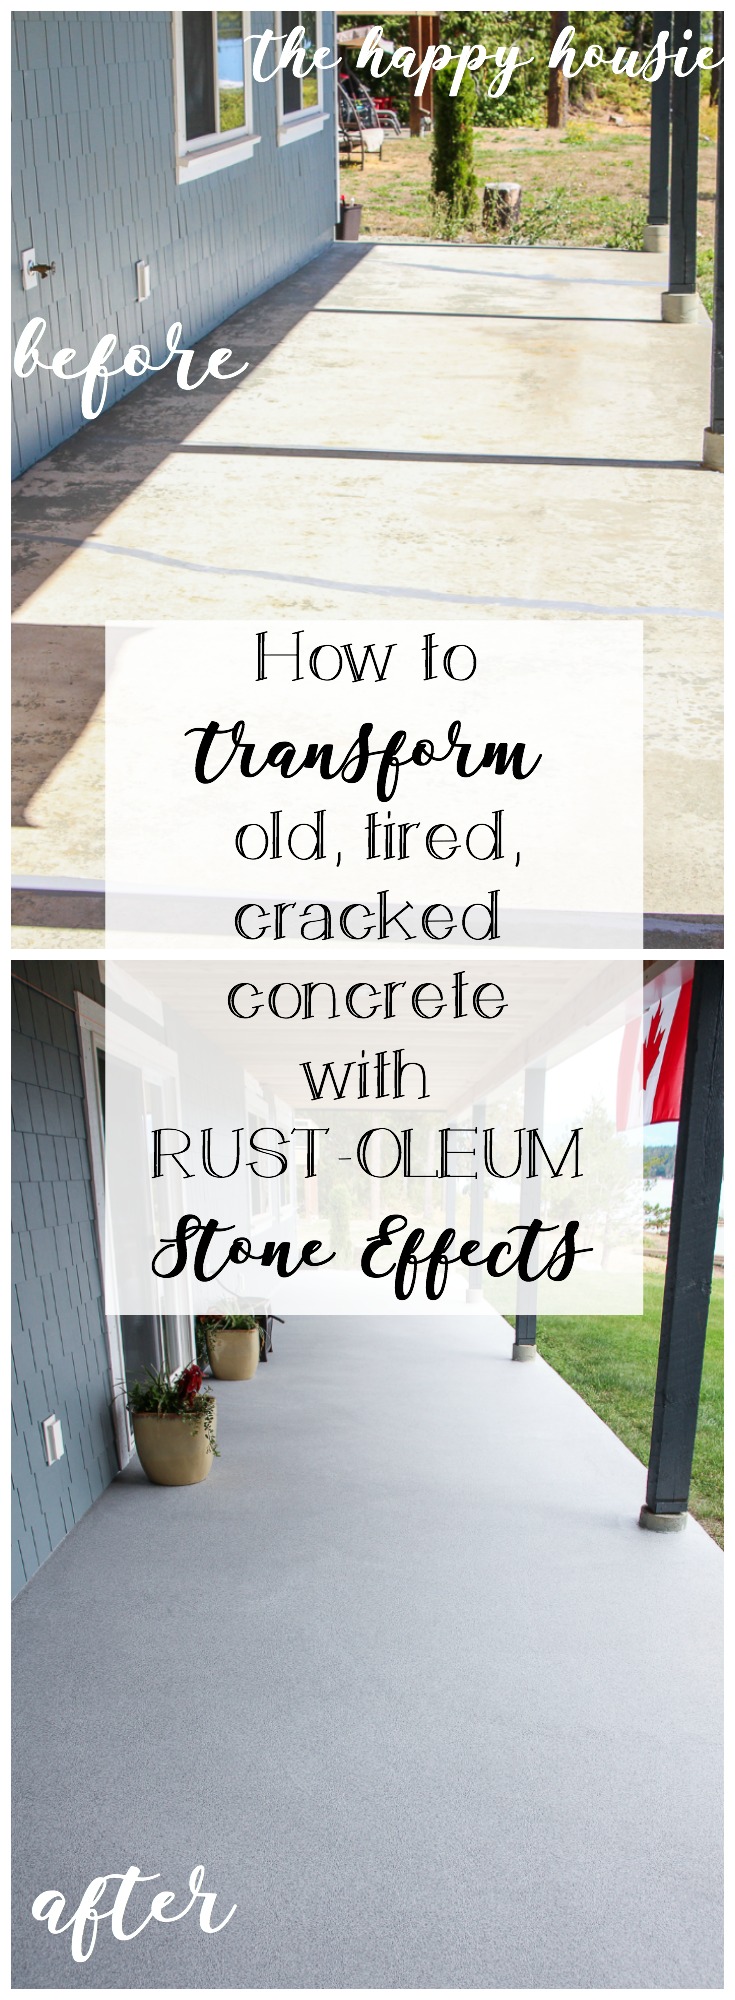
We started with a very tired, very damaged, very ugly, old patio area below our upper deck.
At some point information technology had been painted with physical paint (long before we moved in), and it had Not held up well. It actually made me cringe inside every time I looked at it.
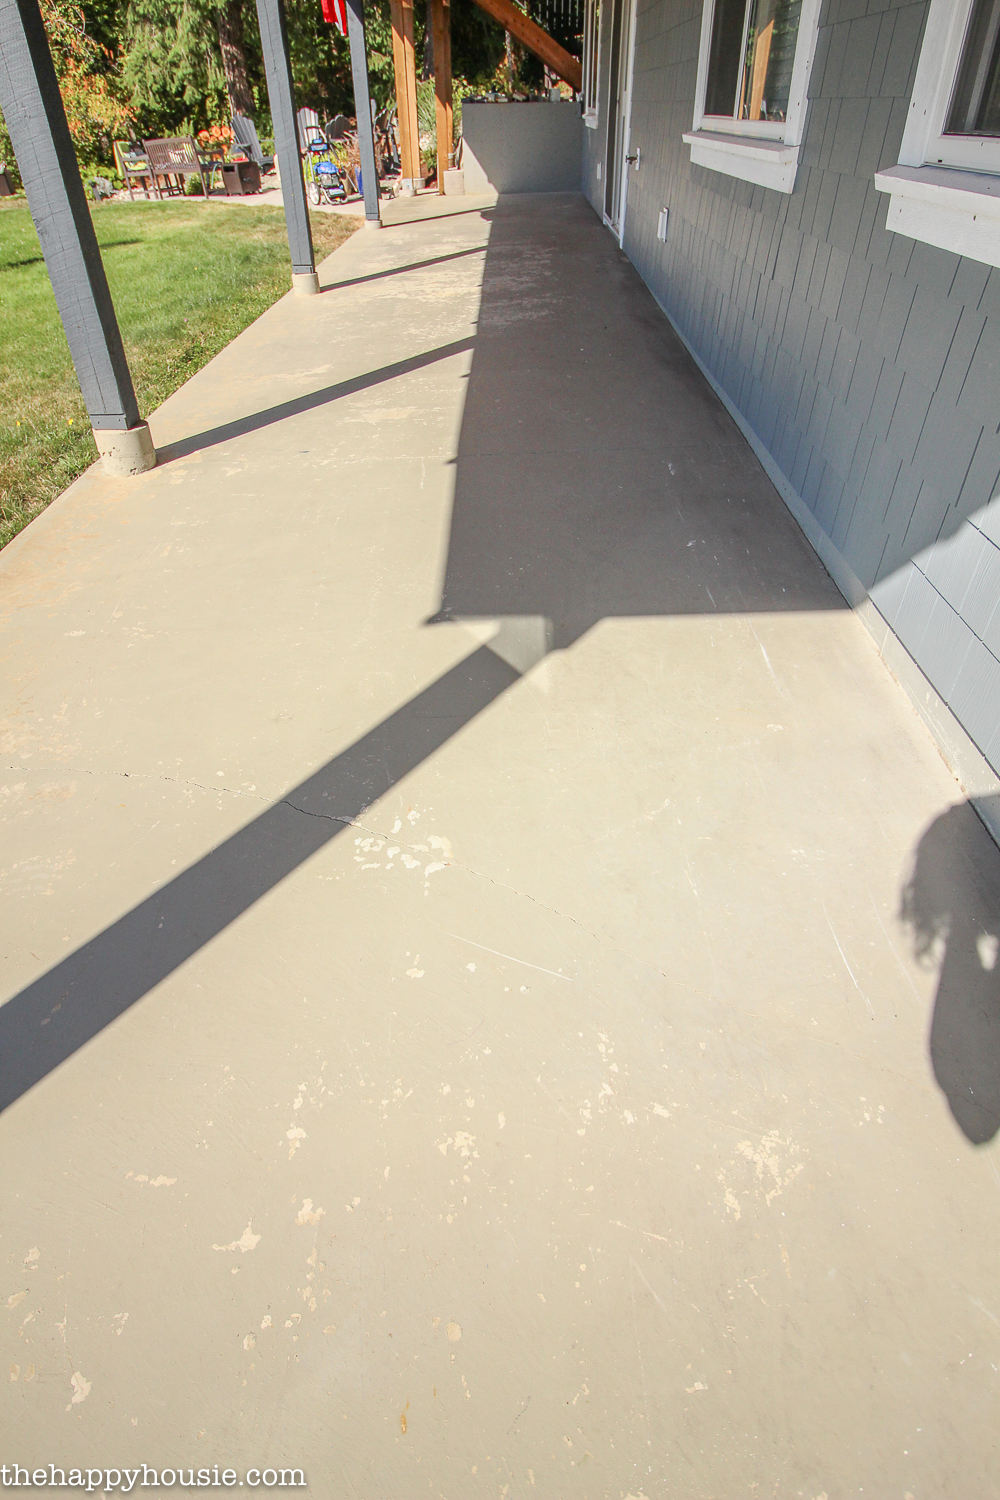
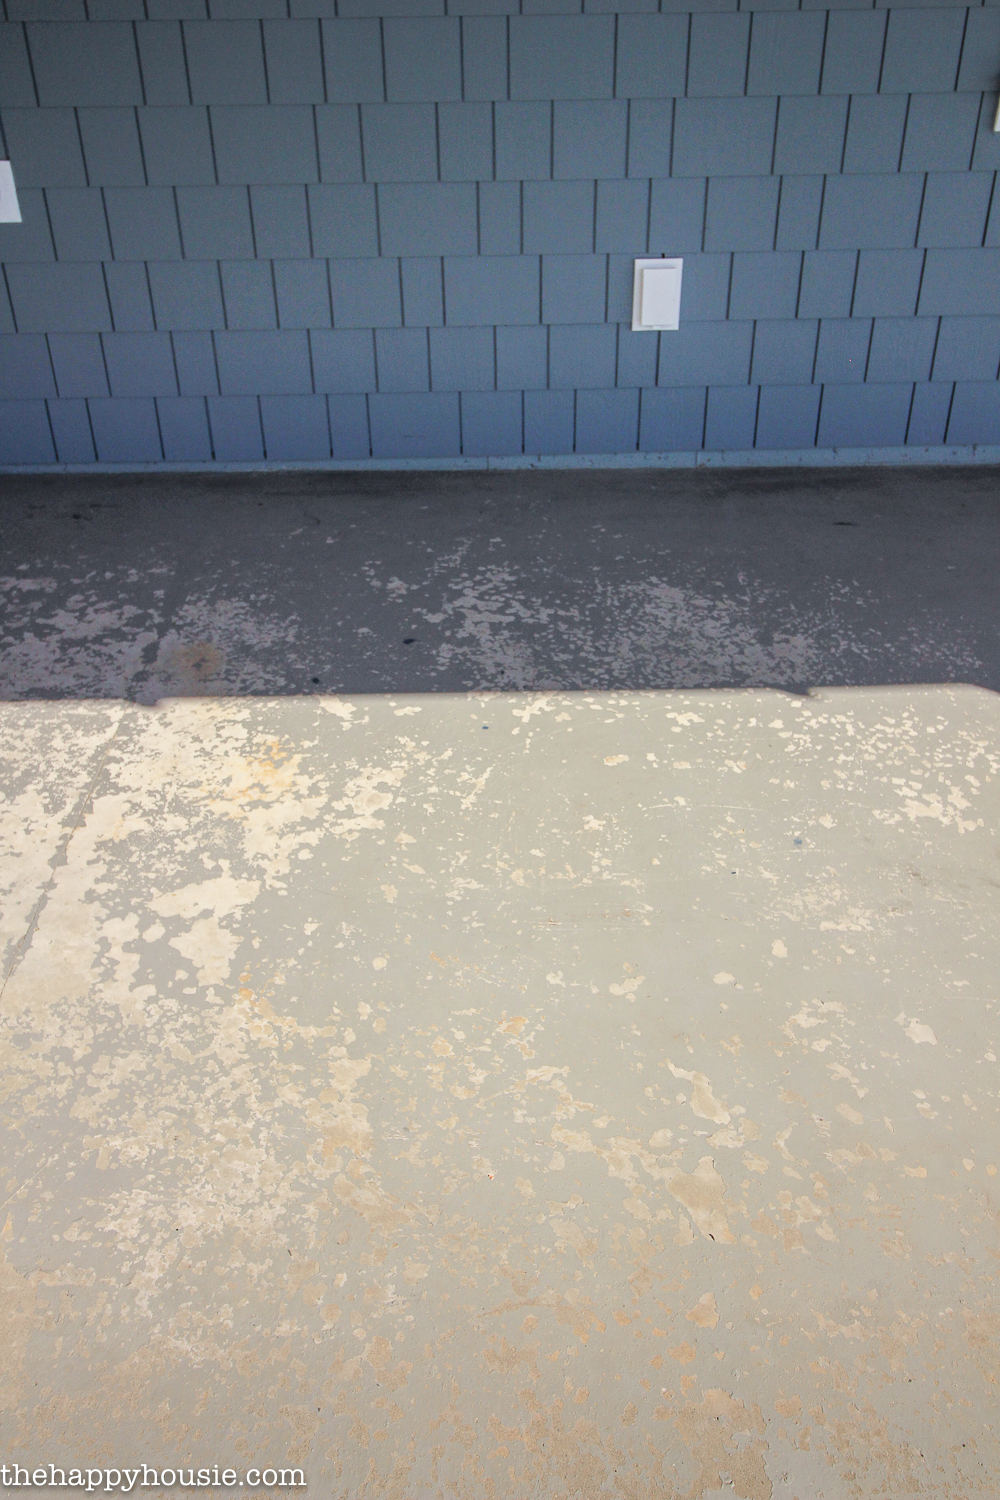
We started out by giving it a serious {and I do mean SERIOUS} ability washing. We got up as much of the old concrete paint every bit we mayhap could in order to leave a clean, fresh surface for our new treatment. The prep steps may seem like the boring function but they are super important, and then don't skip them!
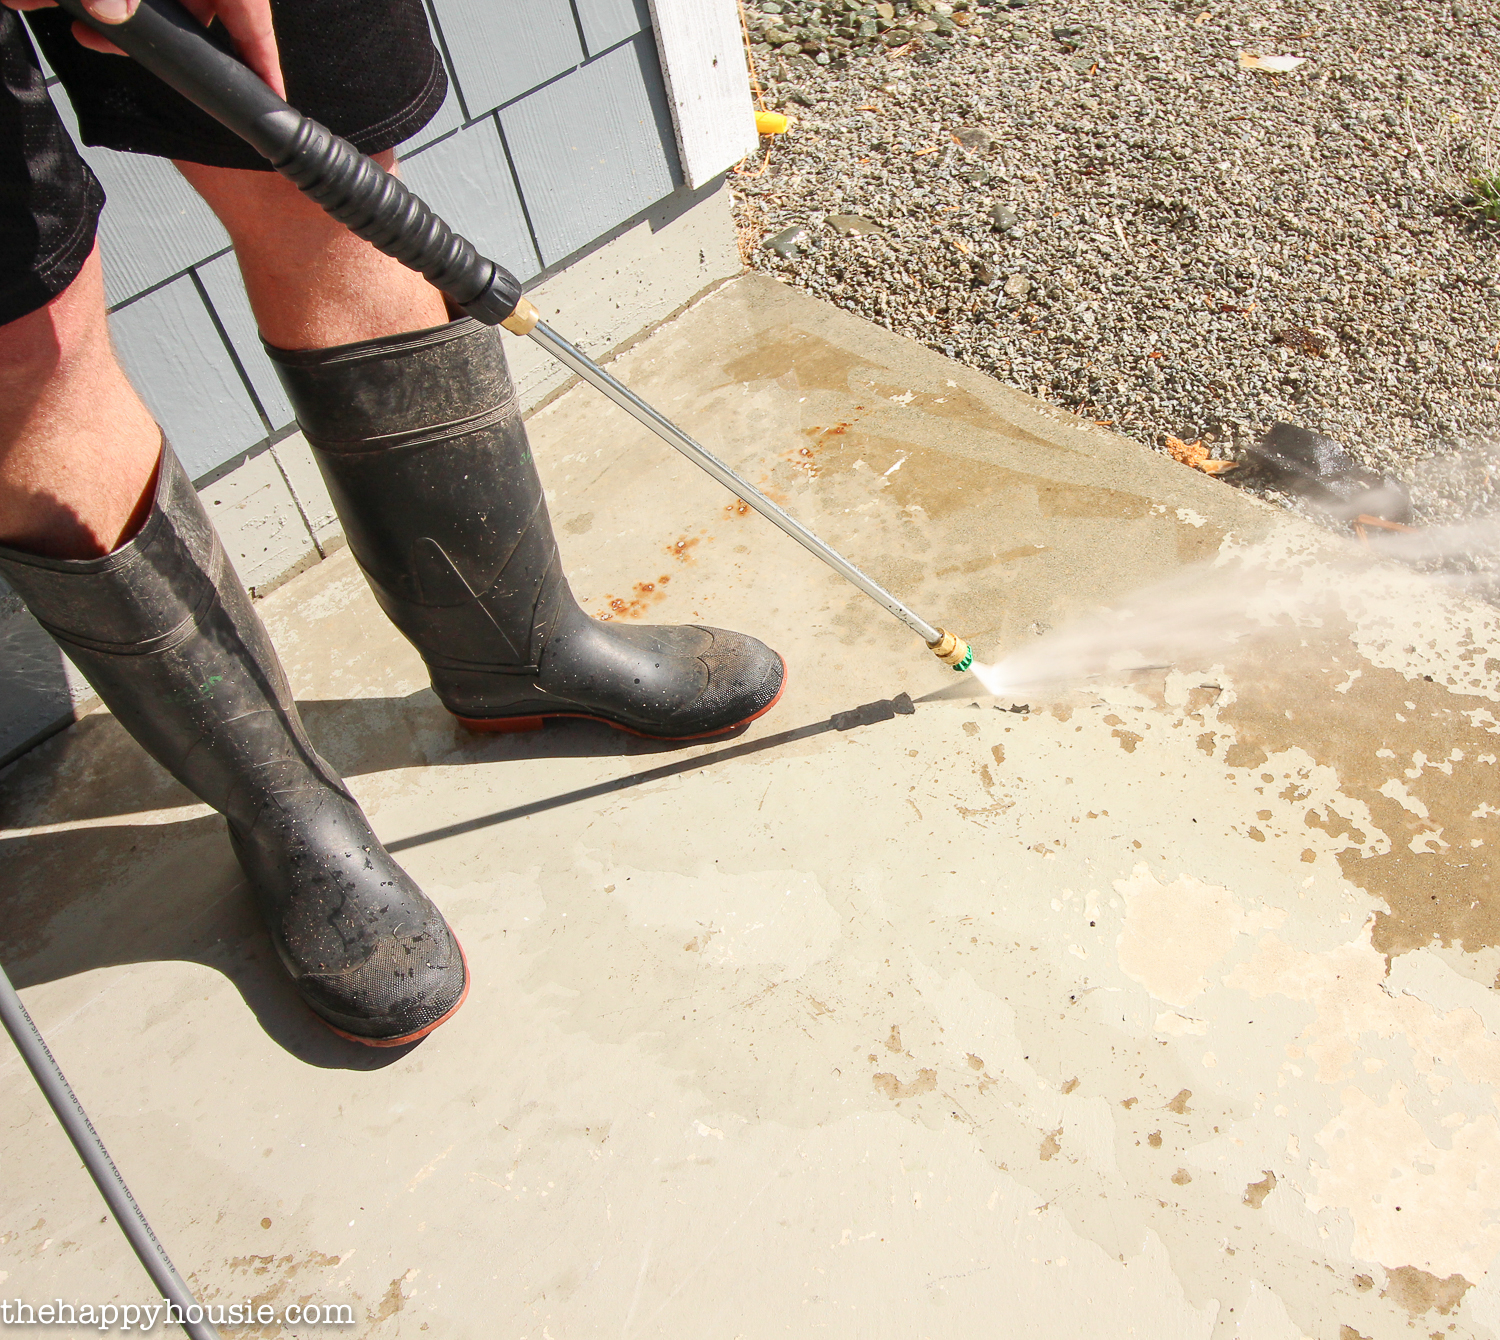
We bought this Subaru Power Washer in the spring and LOVE it…
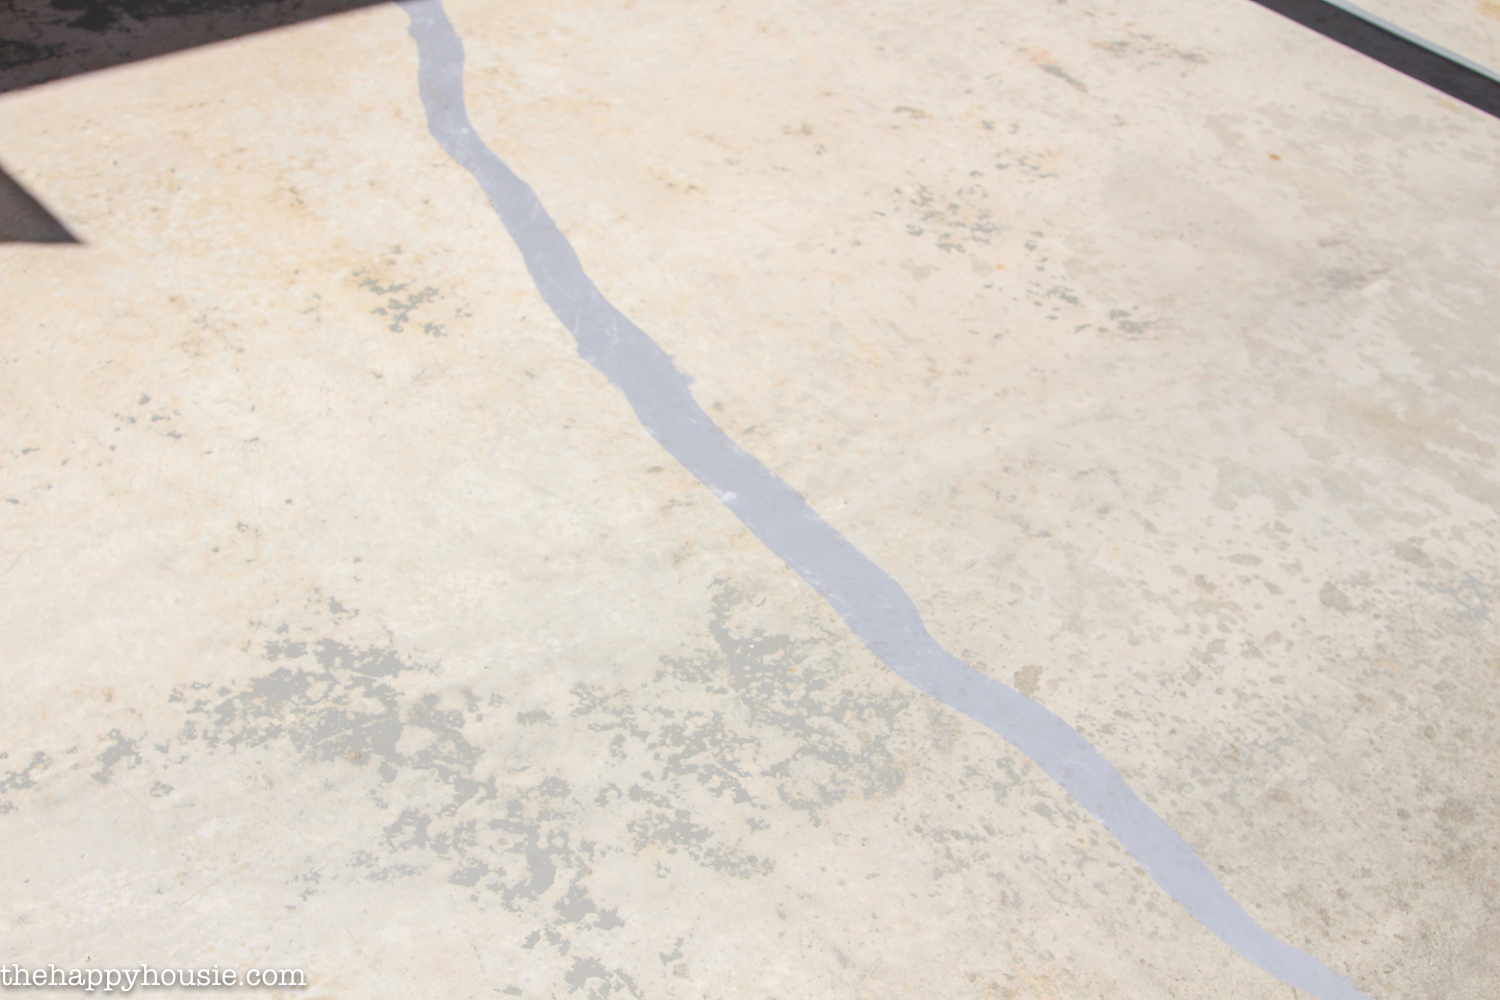
Later power washing and getting every terminal bit of the old paint off that we possibly could, nosotros filled the cracks with a special RustOLeum epoxy filler…
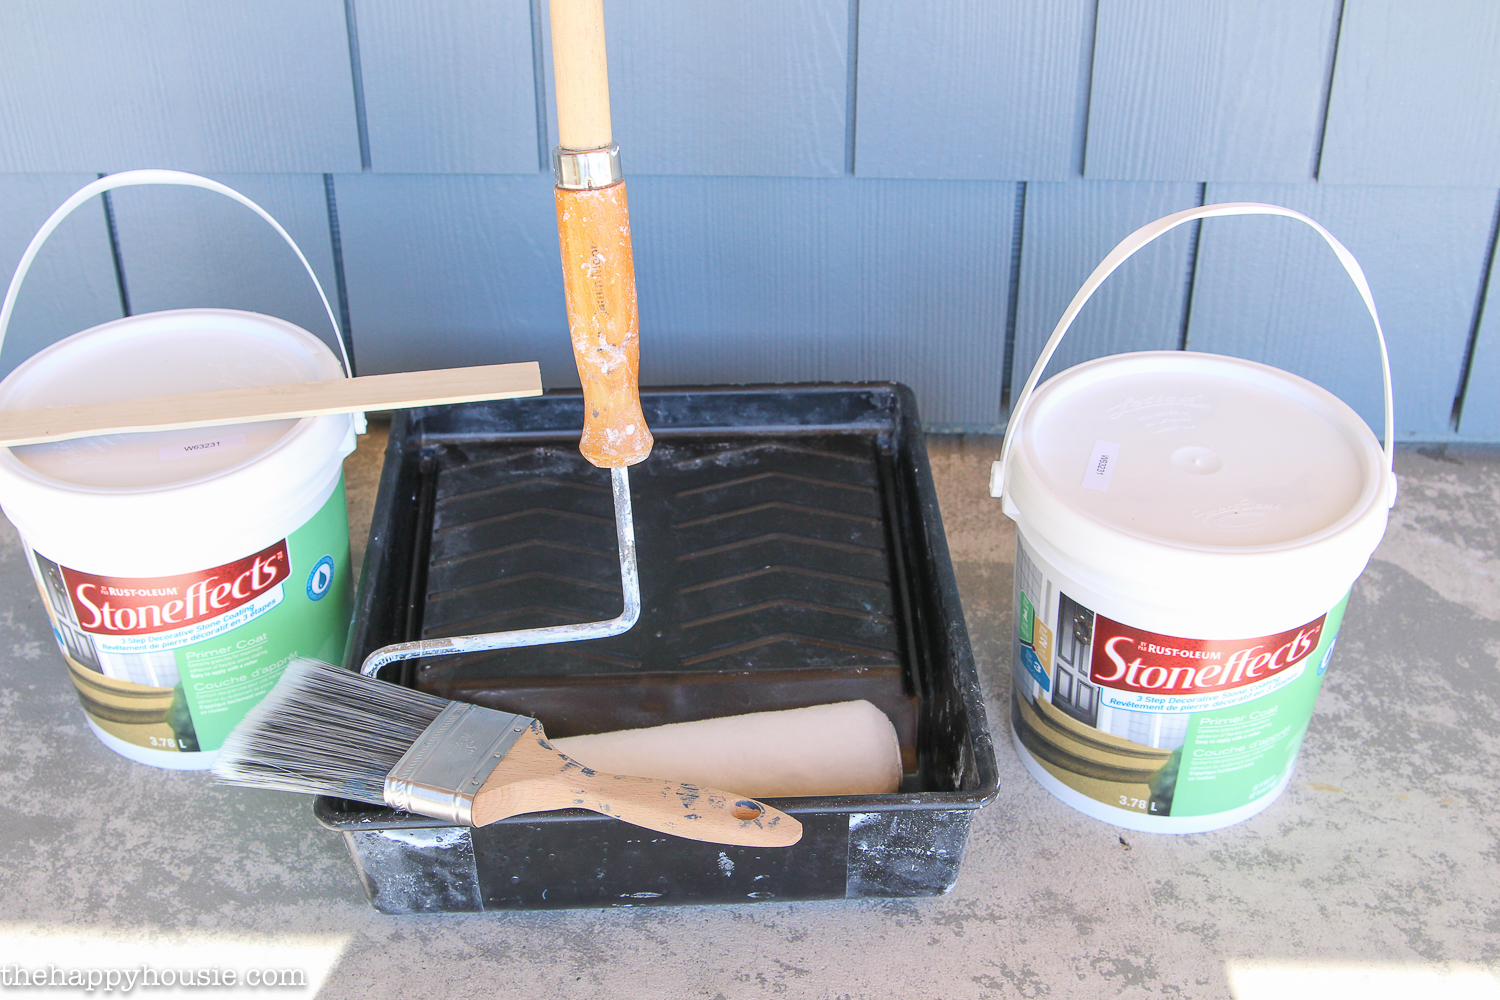
Next: The Primer!
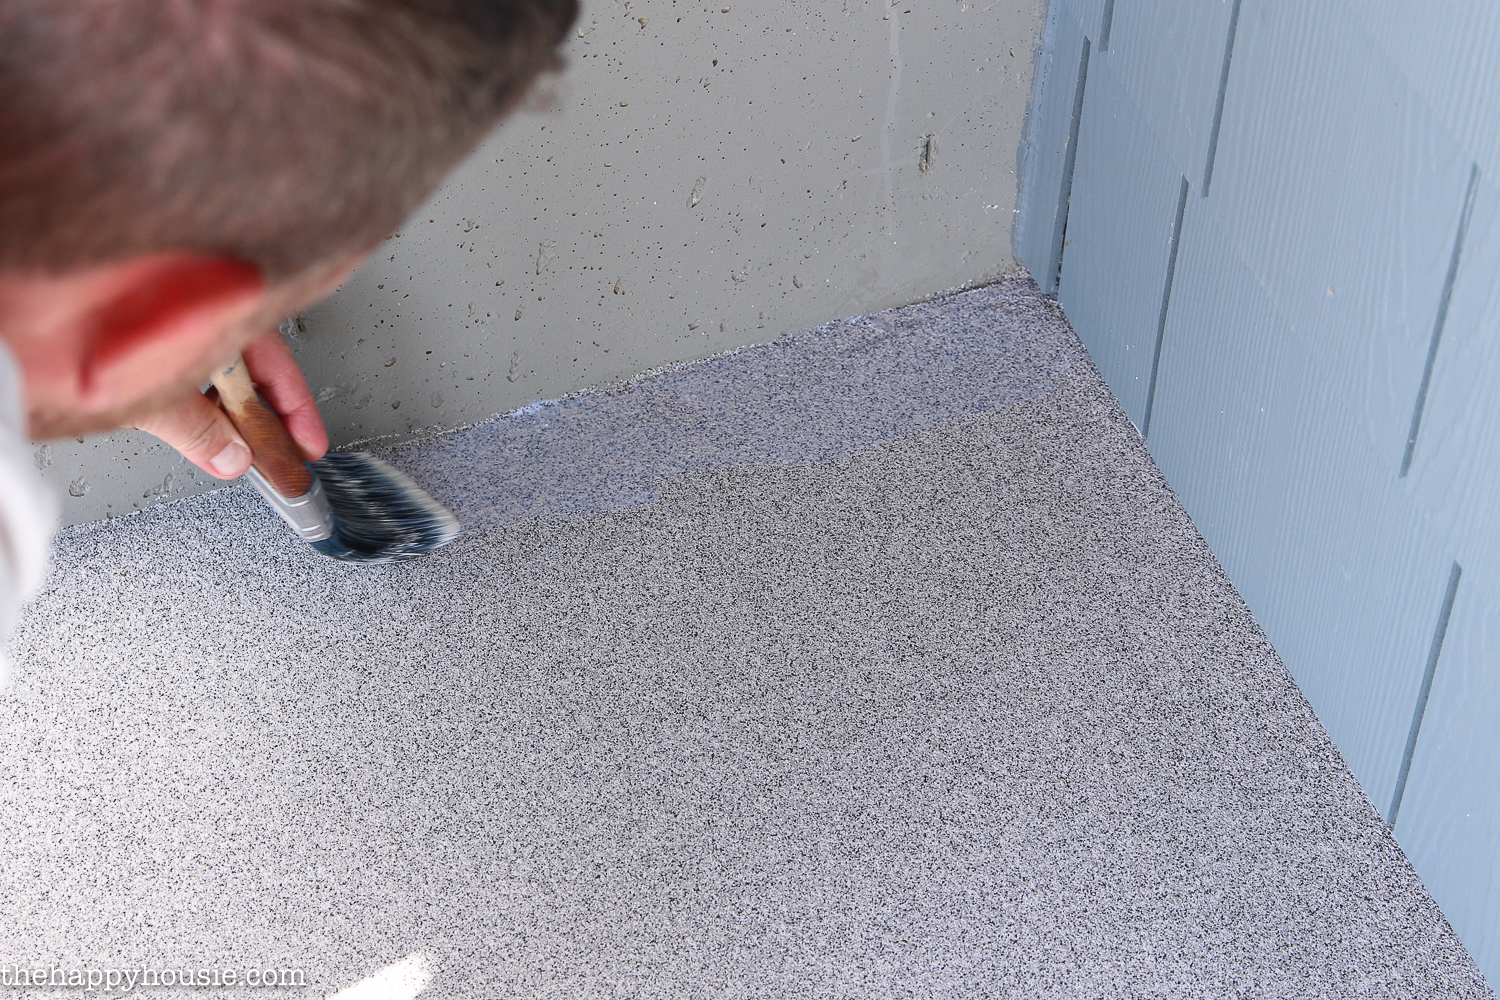
I basically left this job up to my hubby while the boys and I were out. It took a LOT longer and so he (or I) originally thought it would. The priming step is very of import and needs to exist done correctly and thoroughly. It isn't just similar painting on a regular old pigment primer (which is what we were thinking). It goes on more thickly and is stickier; almost similar a watered down glue. Doing information technology properly will make a huge divergence to your finished project so make sure you have your time with this pace!
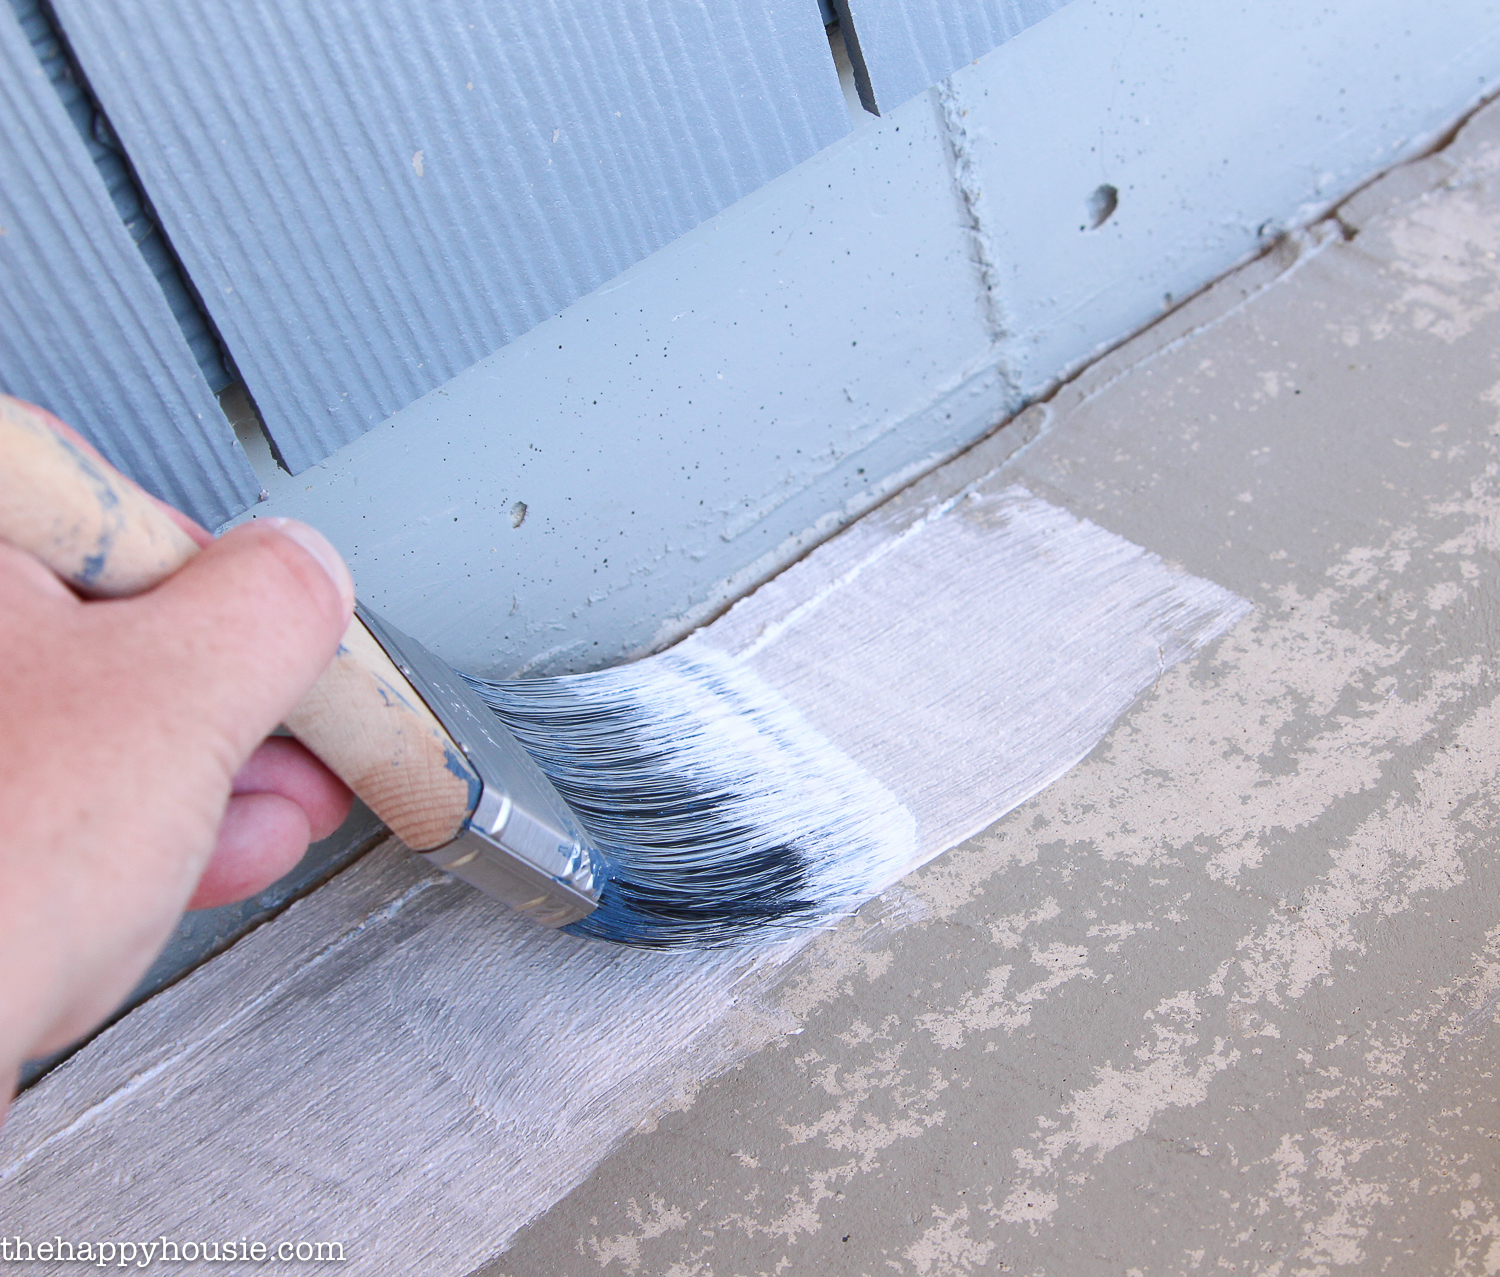
We cut in along the edges with a brush, and then rolled the primer onto the remainder of the surface area with a paint roller on an extension handle.
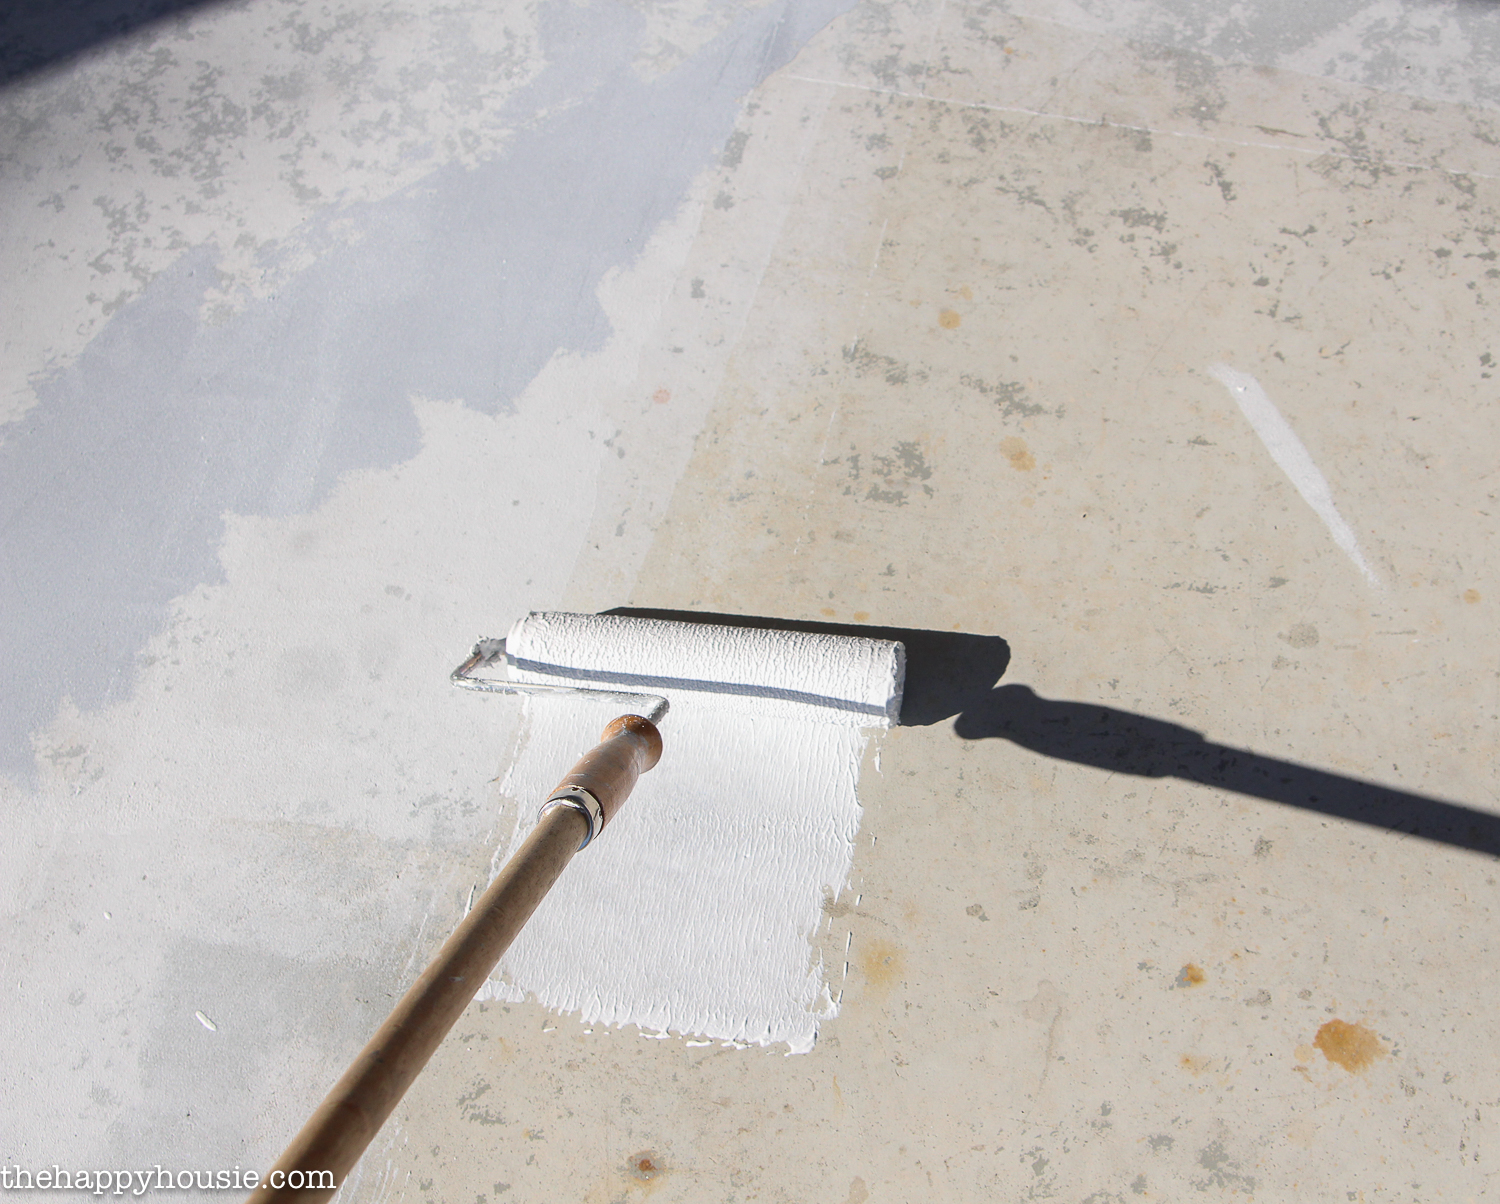
Subsequently allowing the primer to dry out for at least 24 hours, nosotros were ready for…
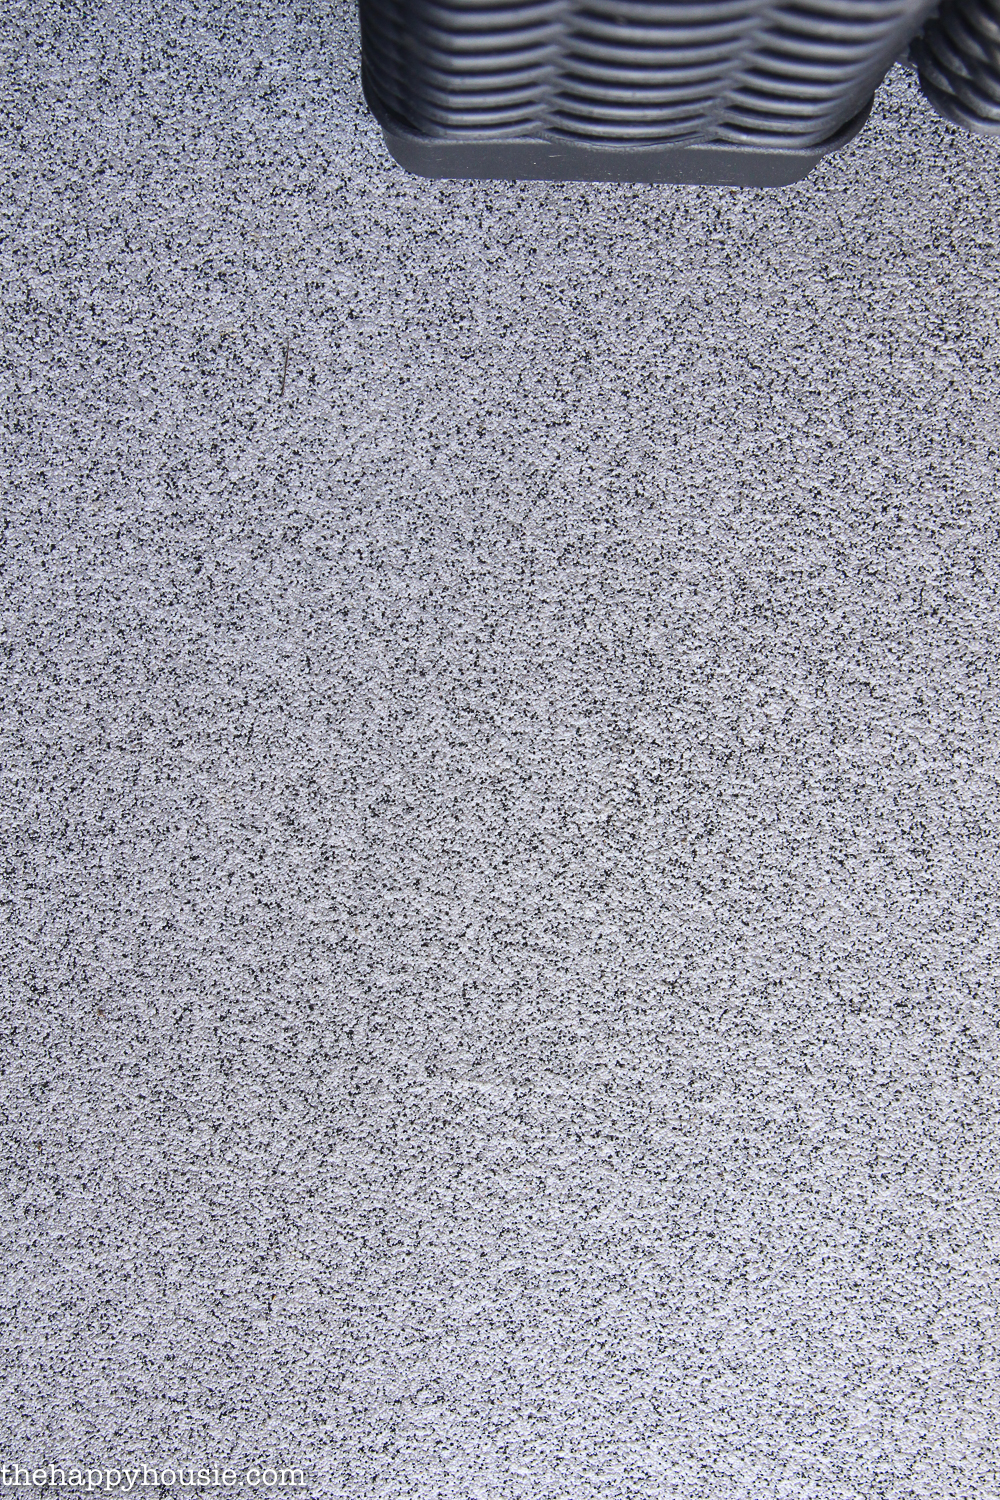
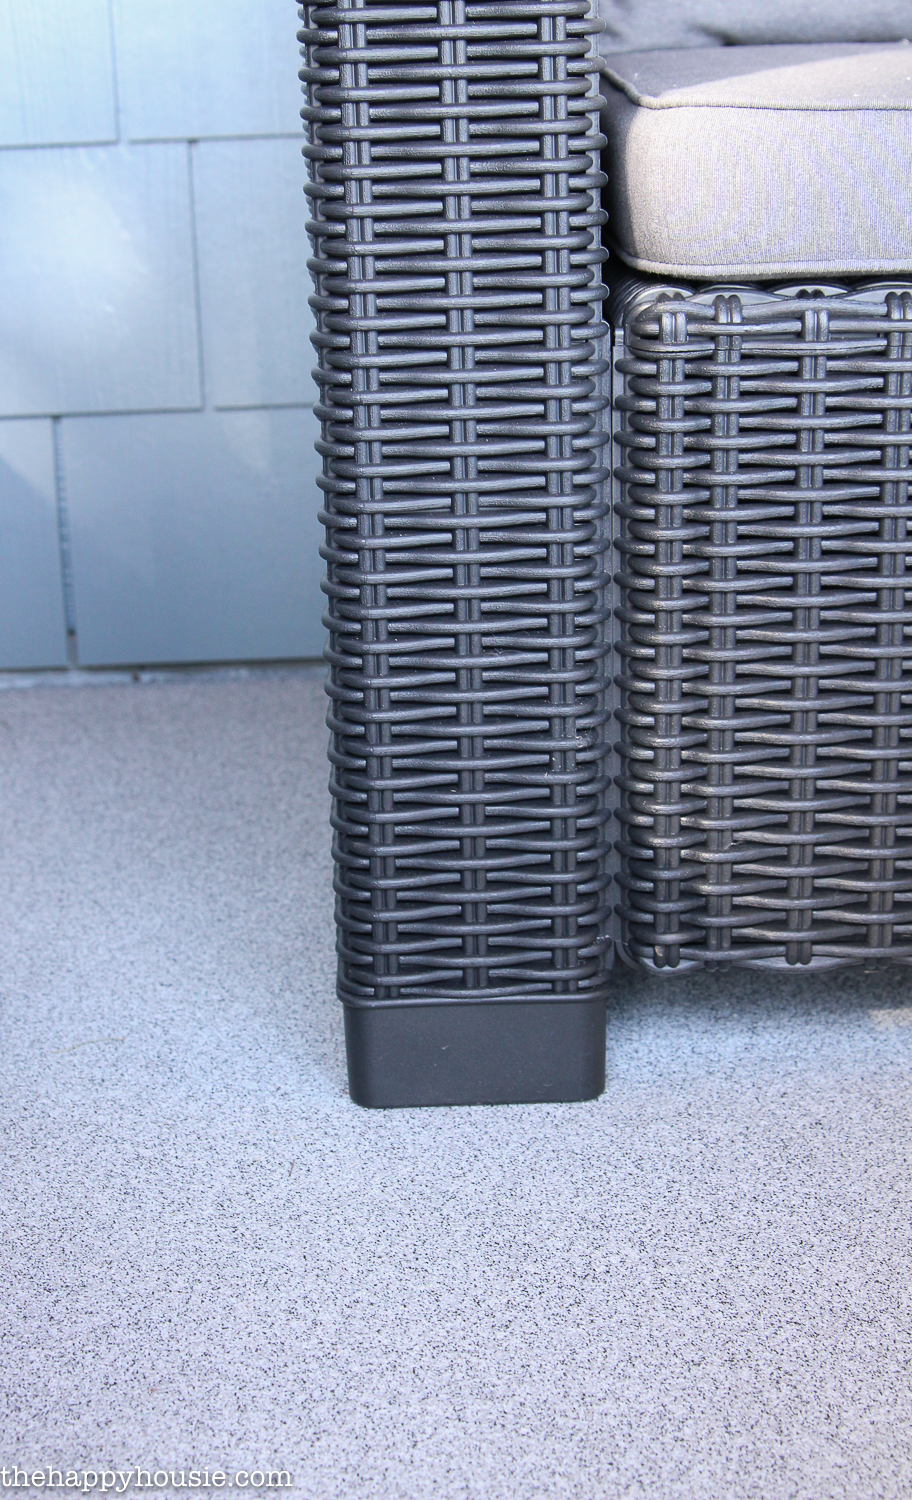
Next: The Stone Furnishings Stone Coating!
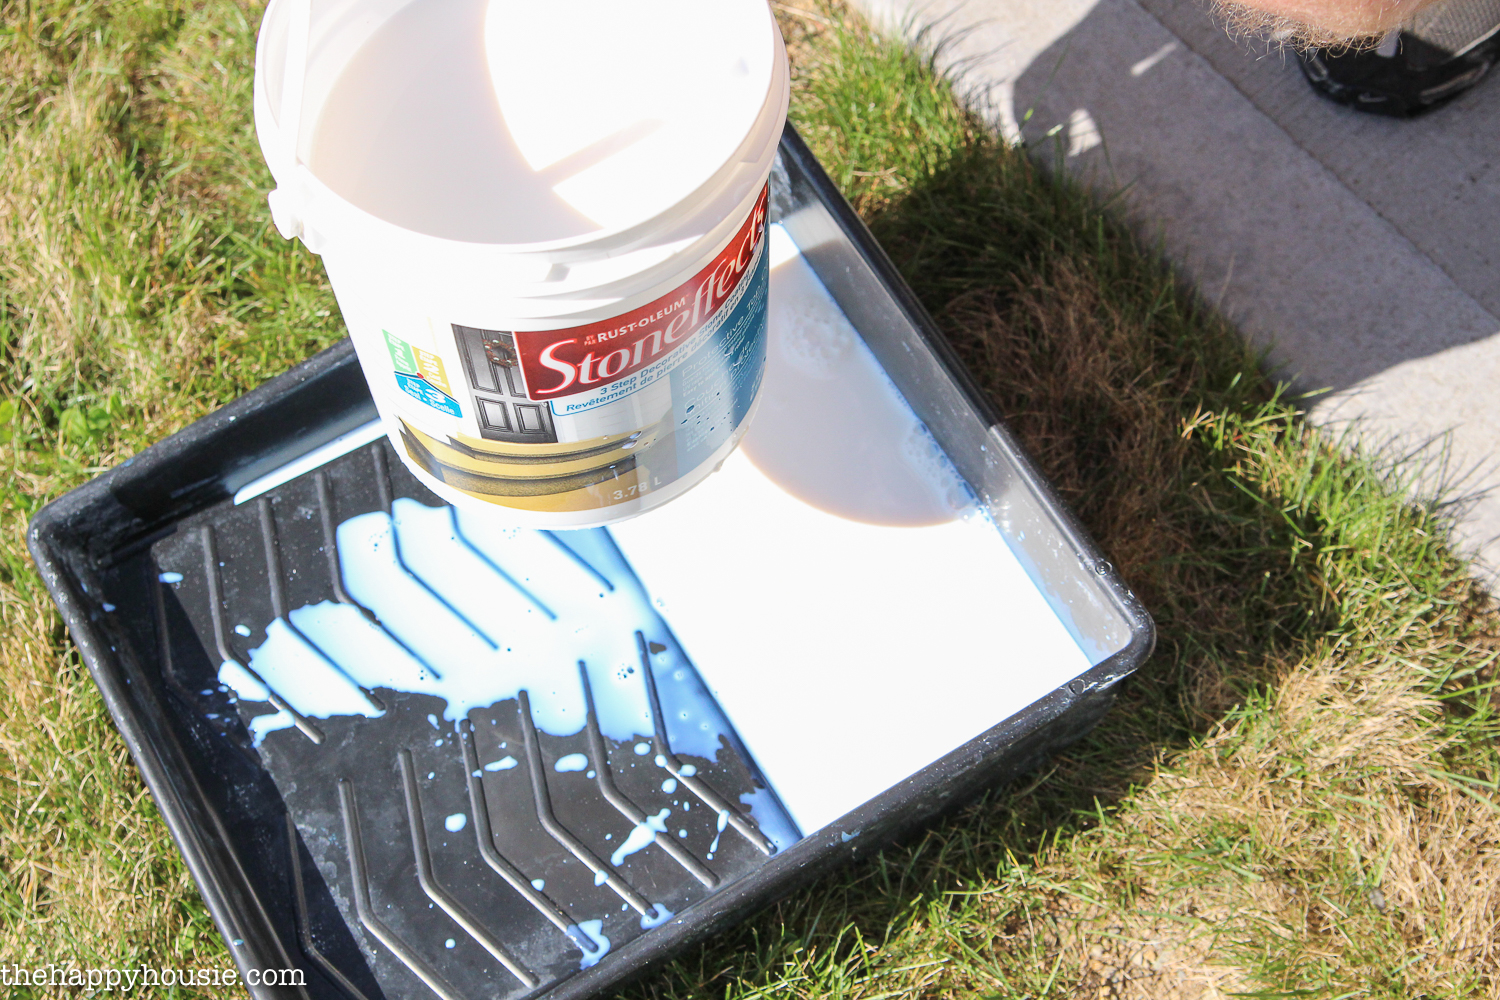
This is really the heady part of the whole process. We used a metal grout/tile mixer bit on a drill in lodge to make certain it was all throughly mixed together. (Nosotros used Stone Effects in a color called Silver Beech).
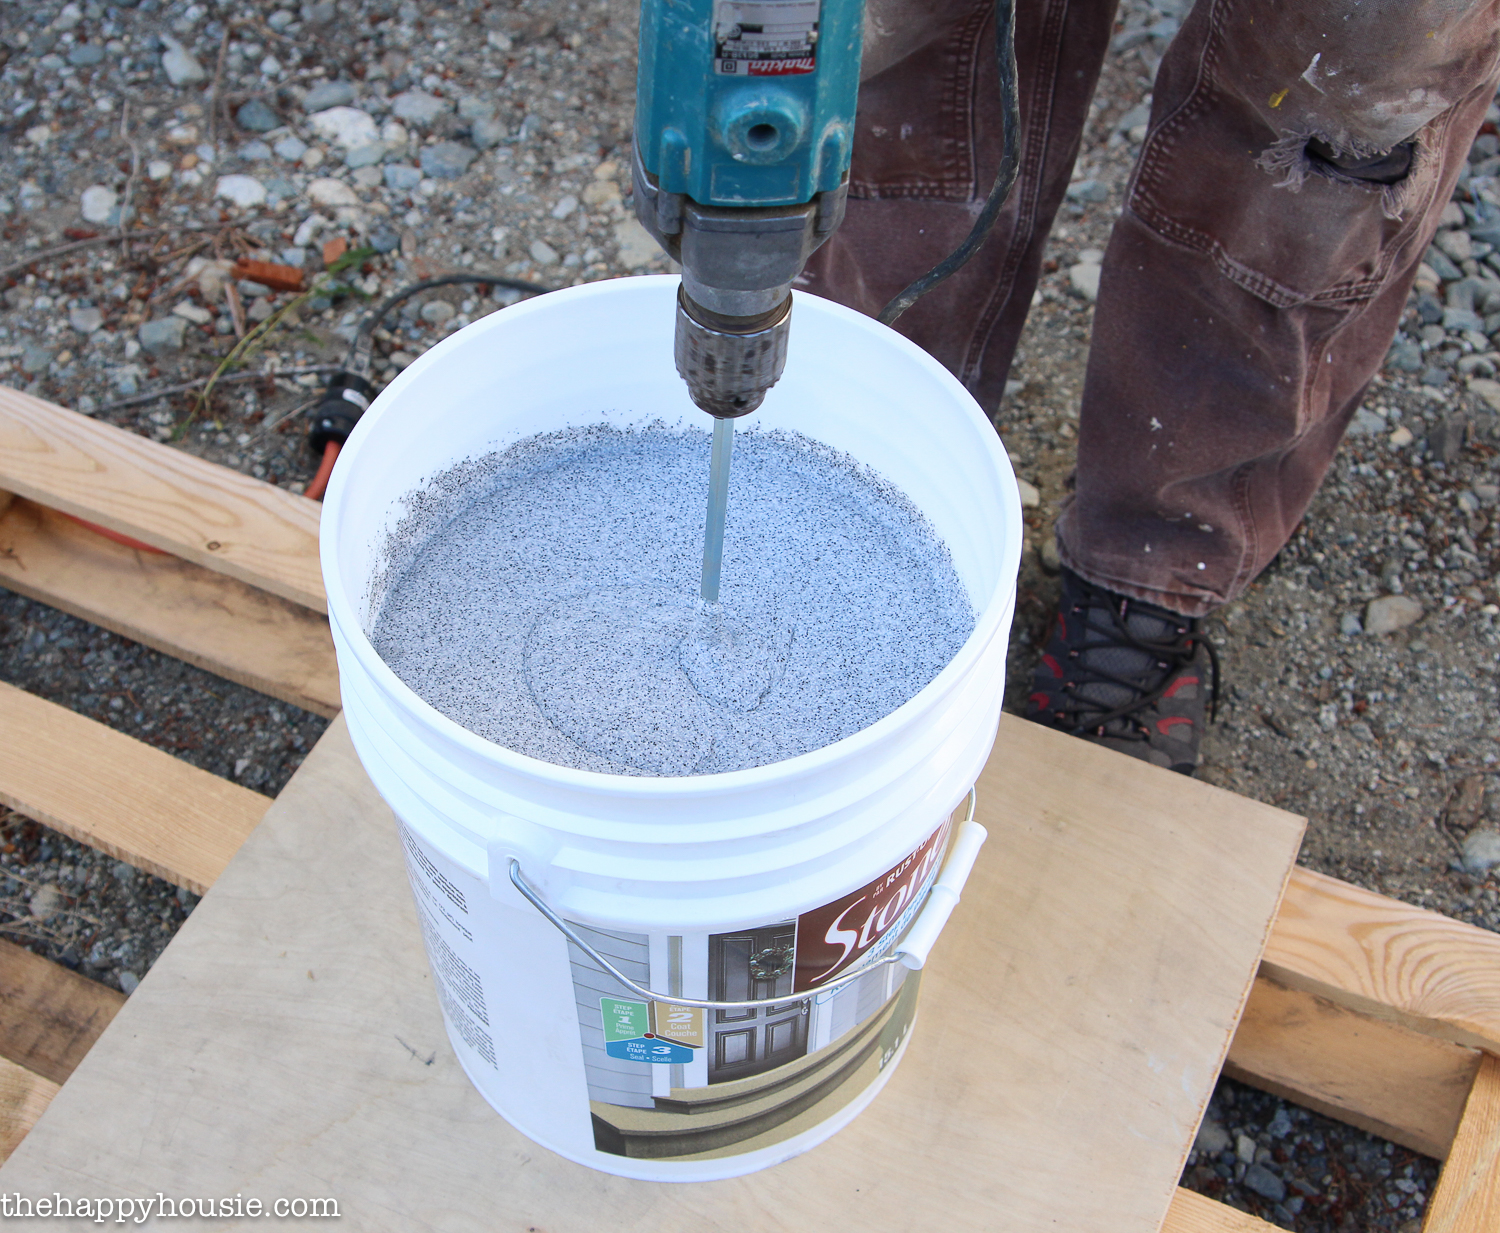
We had our talented carpenter show u.s.a. how to utilize the Stone Effects Stone Coating and he concluded up doing the whole chore with us. We learned a lot from him about the all-time style to utilise it, every bit he has done it before on big outdoor areas (and loves it; he says it has held upwards amazingly well as his own house!).
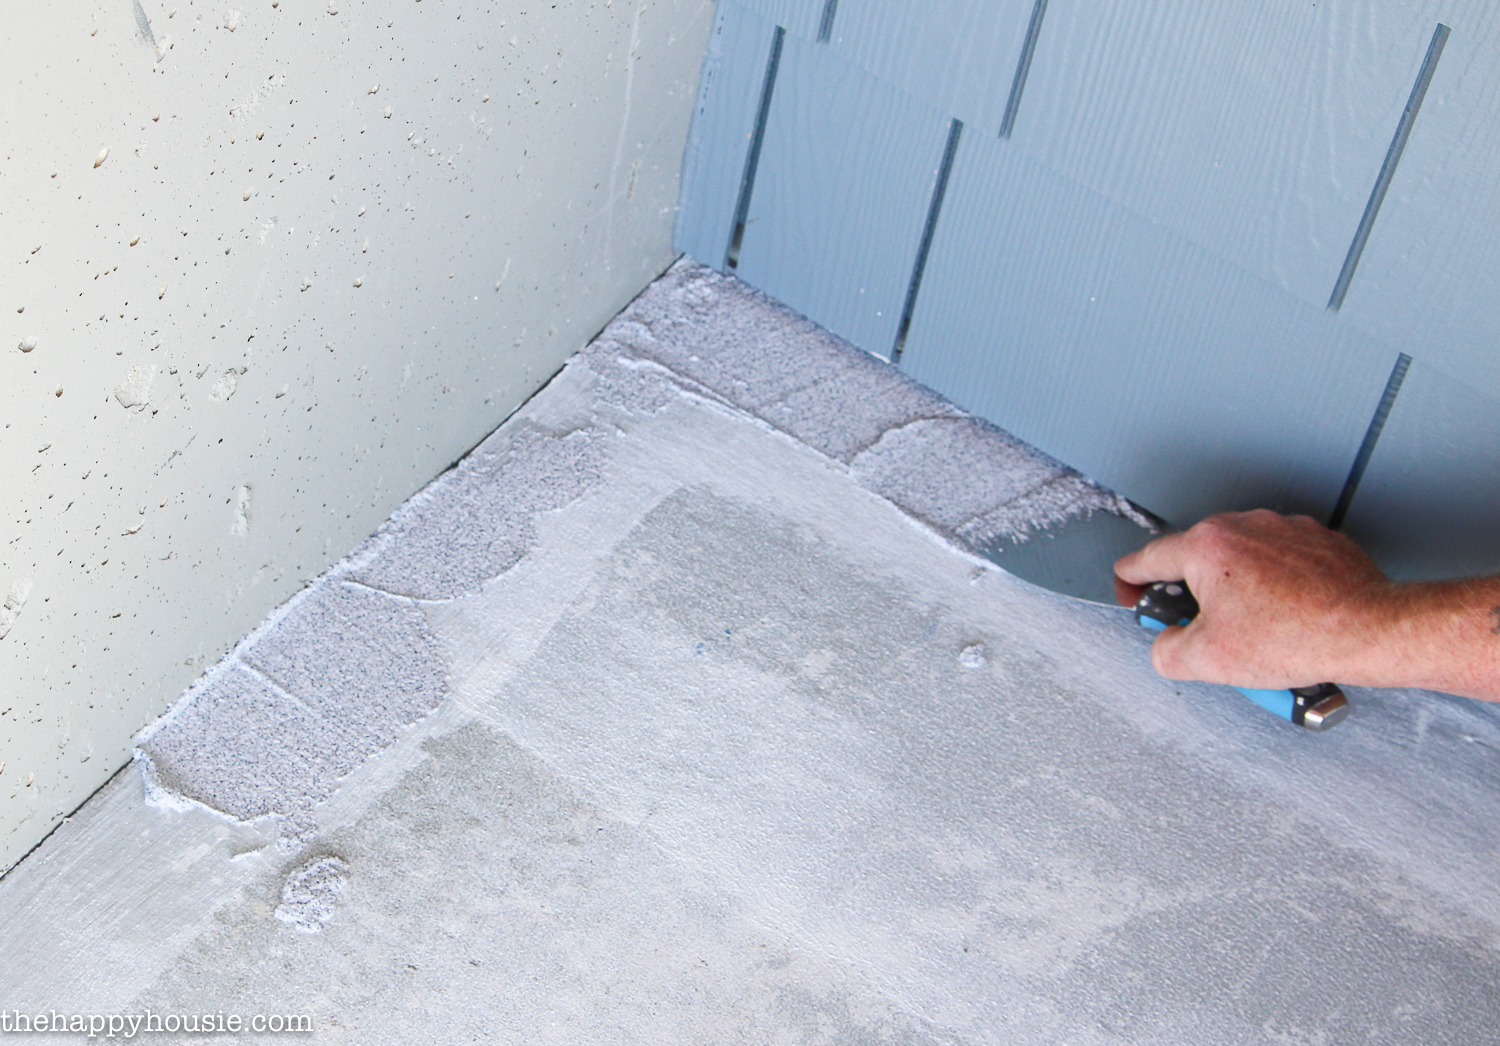
Applying The Stone Effects
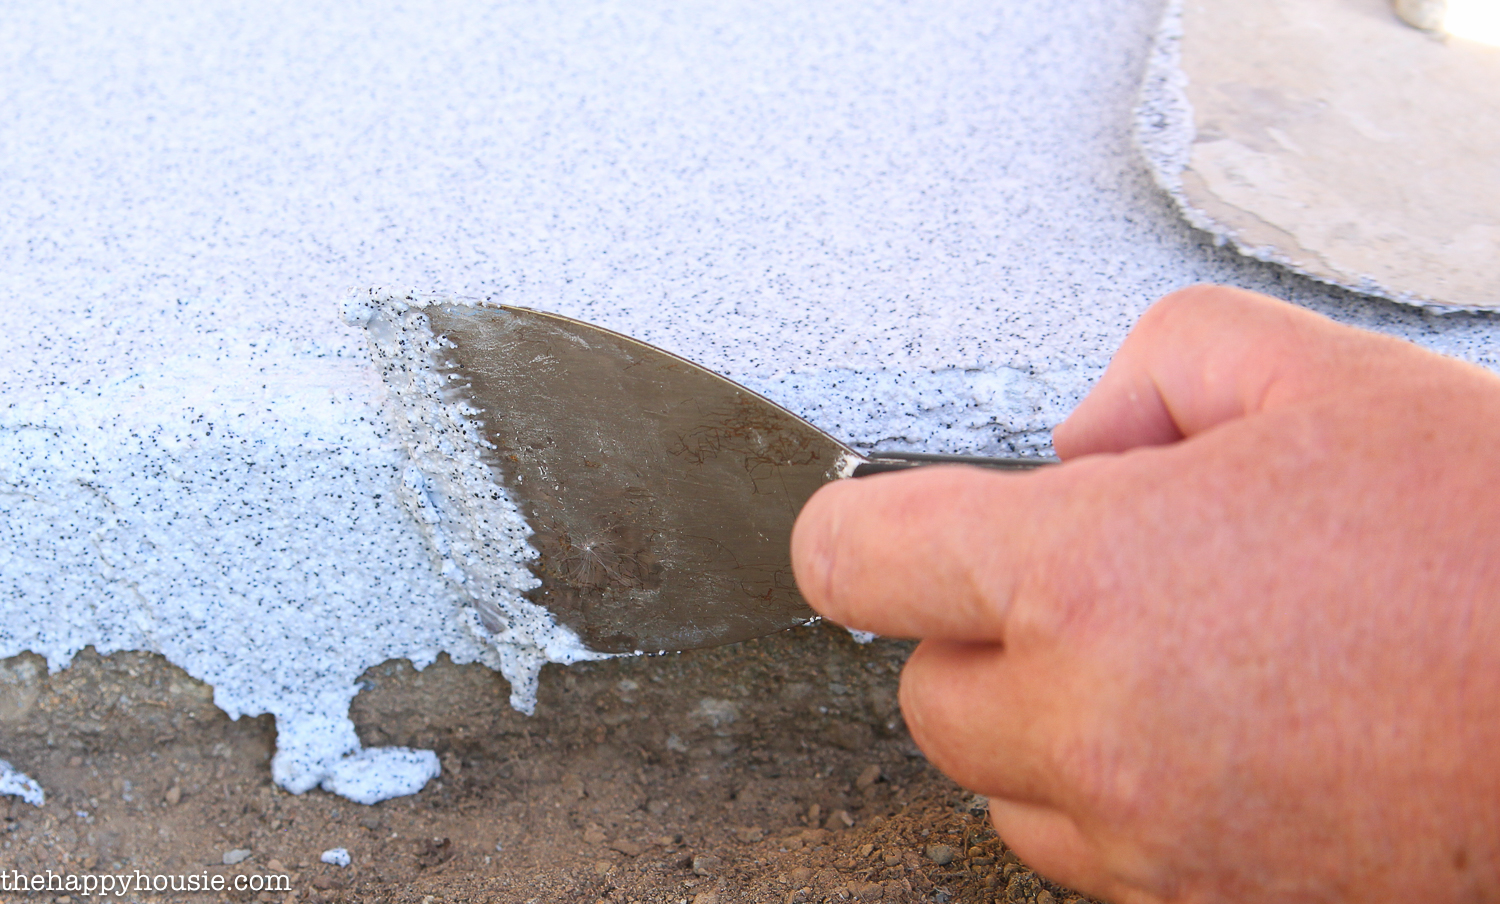
Nosotros started by applying it a minor area of the edges with a metallic putty pocketknife. You want to make sure that the cloth you are working with stays wet so don't piece of work your style likewise far along the wall/edges.

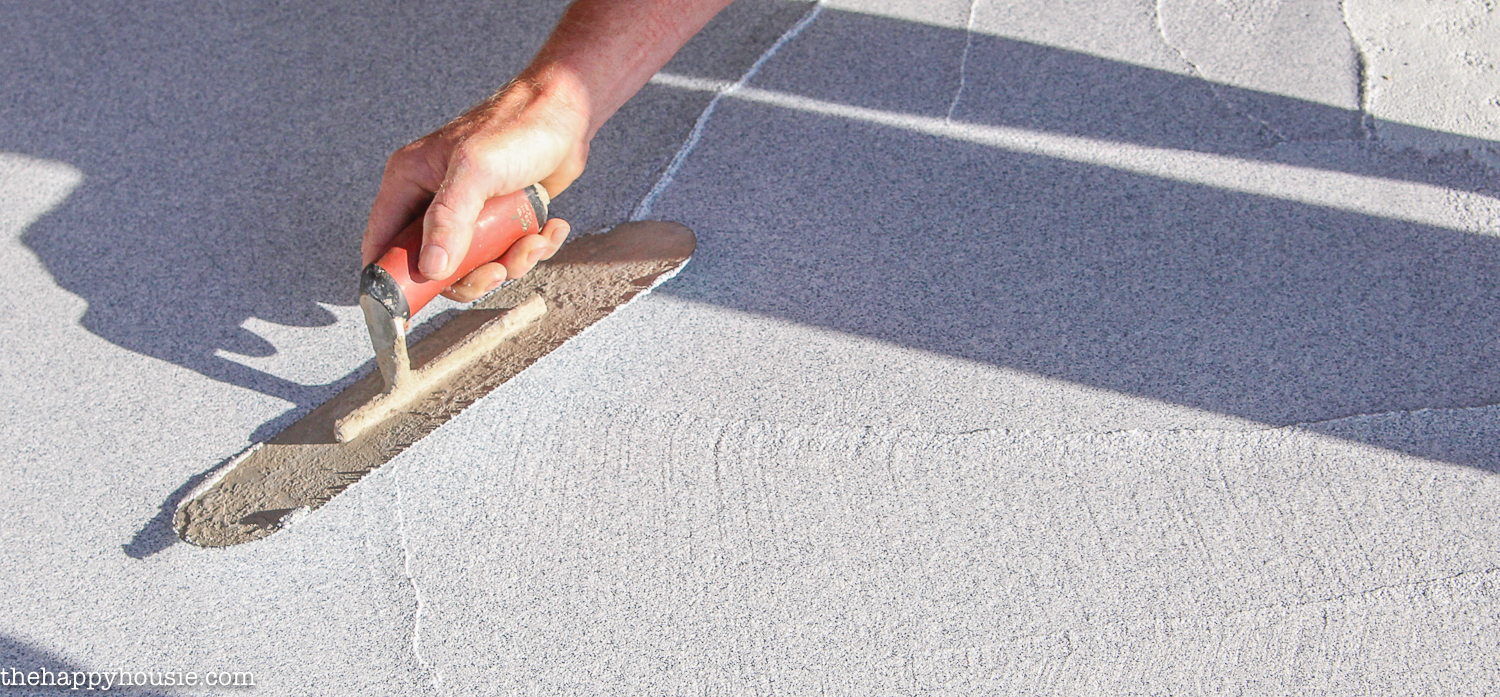
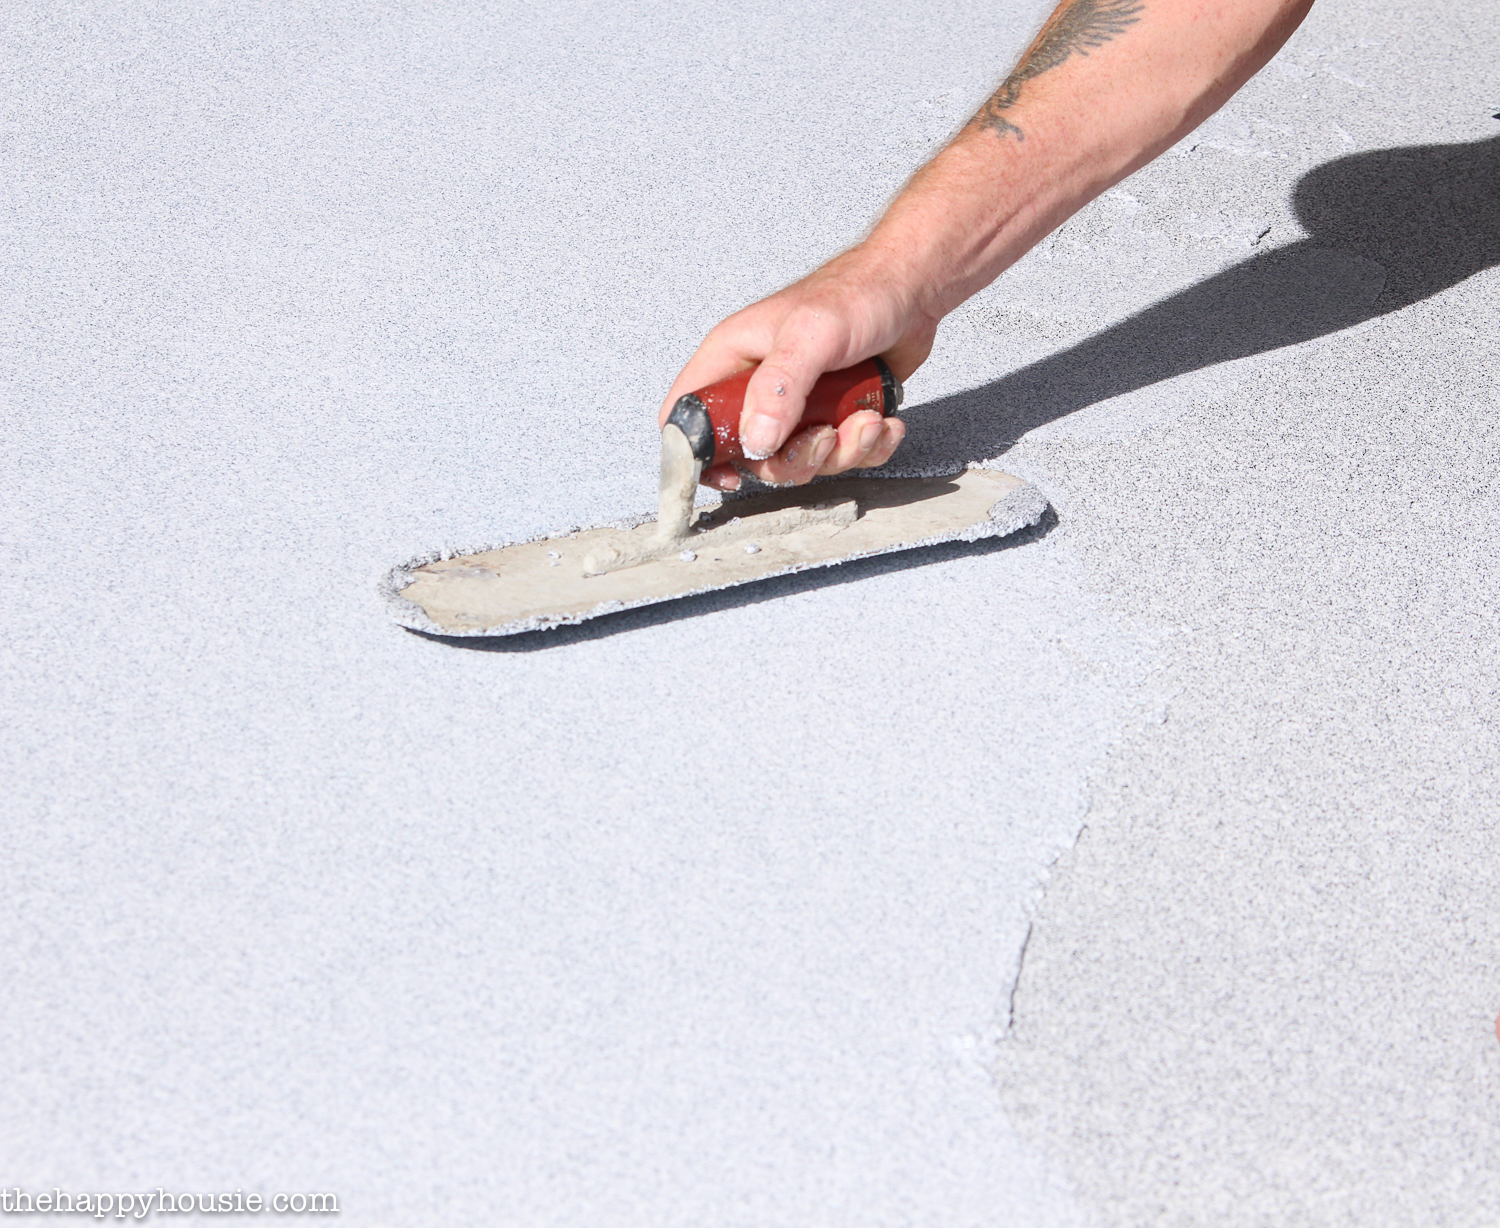
We scooped upward the Stone Effects with a clean plastic container and dropped it along, then used a large trowel to smooth information technology out with. Our carpenter showed usa how he works with polish motions, back and along, in order to get as level and smooth of a finished surface as possible. We used a smooth edge (or rounded edge) trowel to piece of work with the Rock Furnishings material.
I would recommend practicing this part start, perhaps on a large piece of paper-thin or plywood, just to become the feel for using the trowel unless you lot have done this kind of thing earlier.
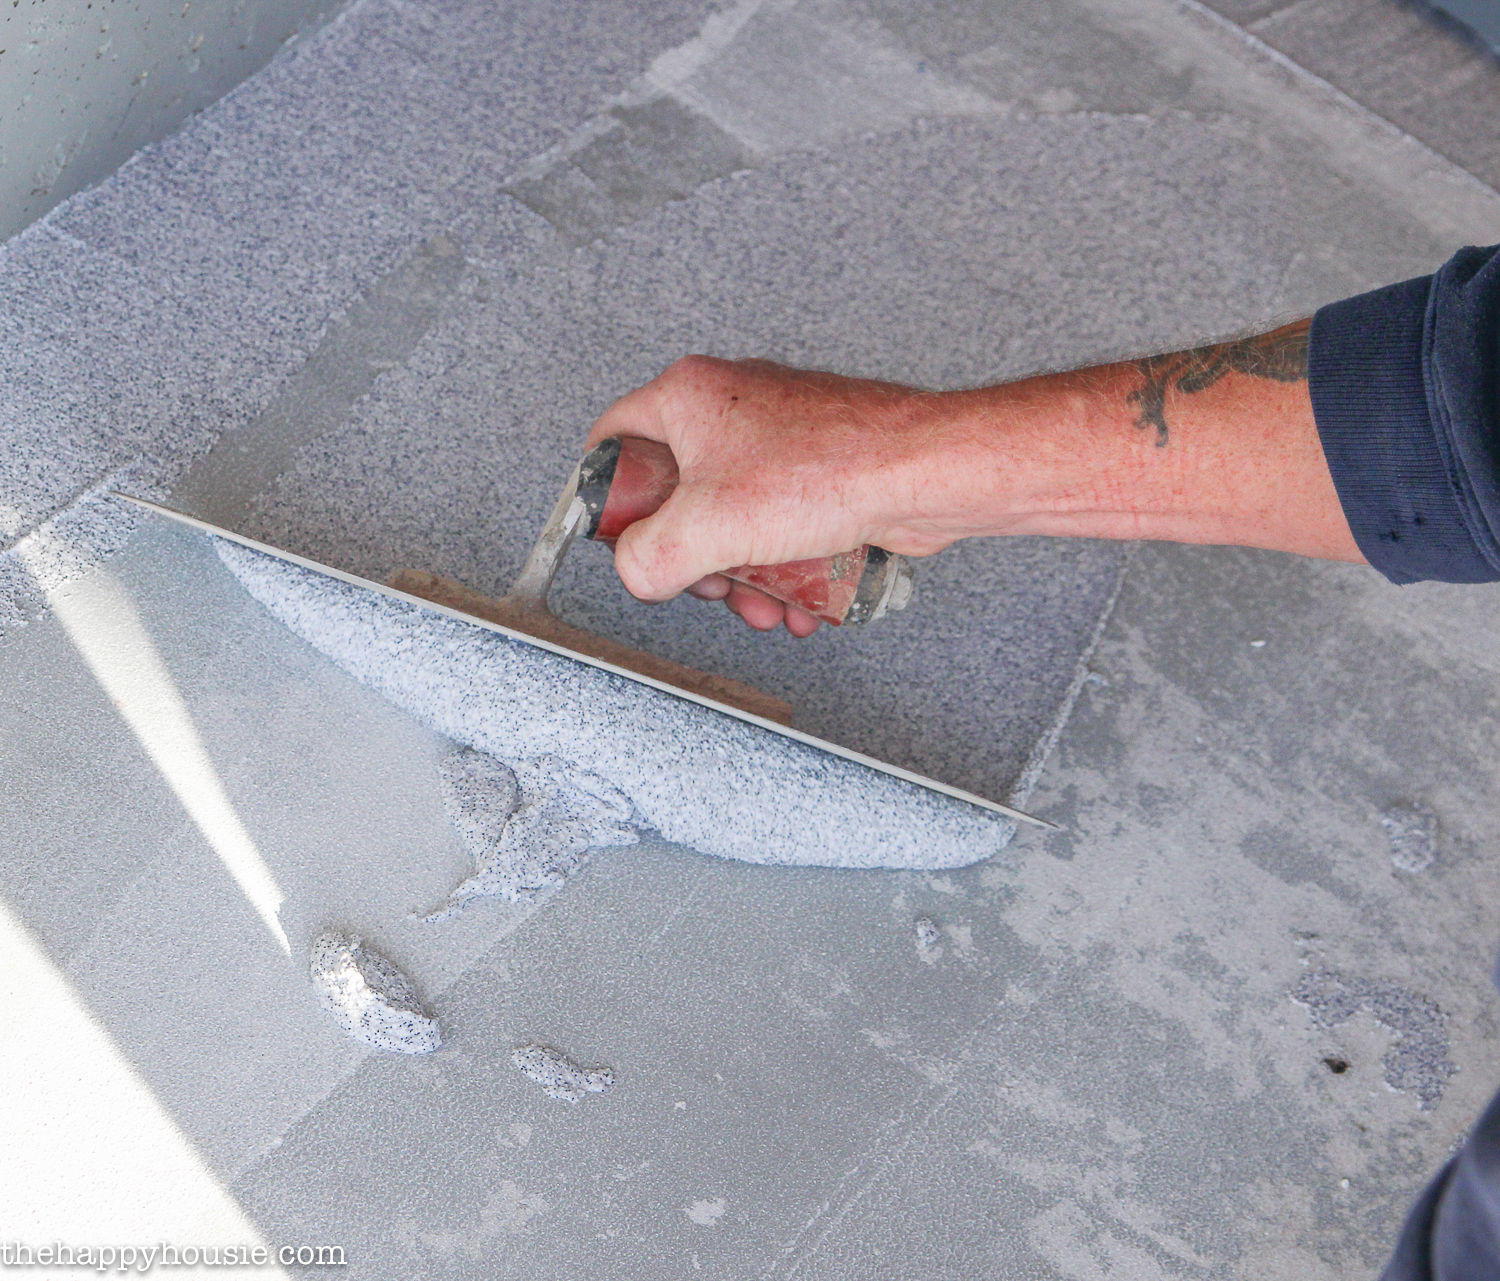
Later on smoothing the Stone Effects one fashion, we worked back the other away, again and over again until a smooth terminate was created.
We as well used the putty knife to apply the Stone Effects to the lip of the concrete that abuts the lawn, so that the terminate wraps down the side of the patio.
We did 2 coats of the Rock Effects finish. The first glaze took much longer, but a second coat is important in order to make sure that you take a solid surface and that you fill in any fourth dimension gaps or missing areas.
Adjacent: The Sealer/Top Coat!
The sealer went on much more easily then the primer did! Nosotros mixed information technology well, poured it into a rolling tray, used a brush to apply it along the edges, and and so rolled the rest on using a long handled roller.
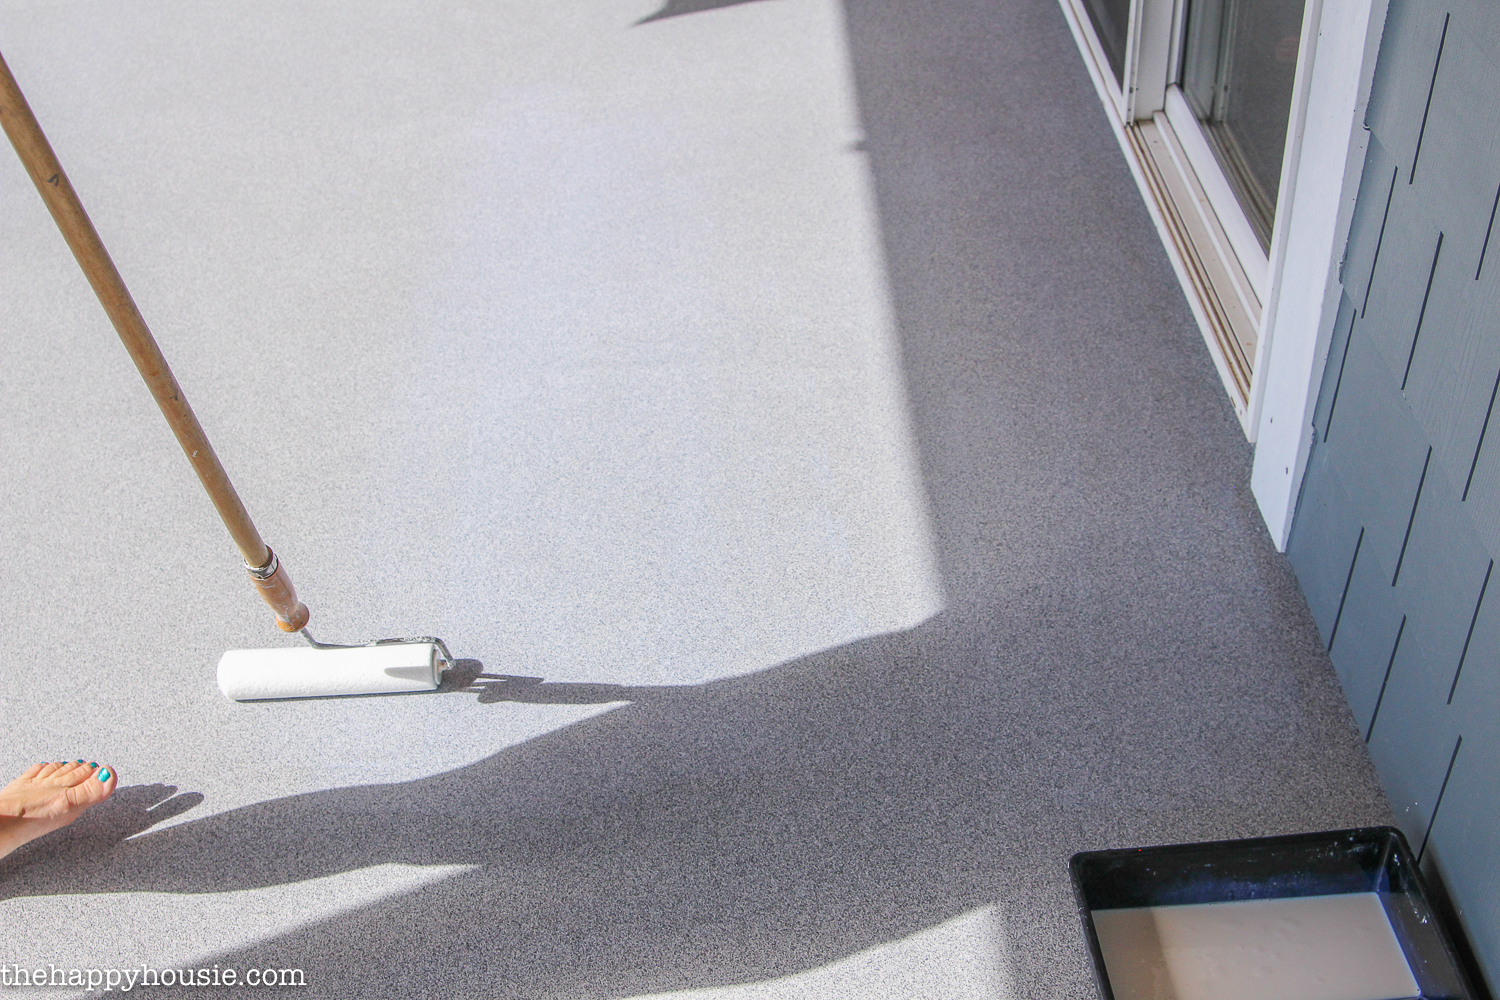
Done!
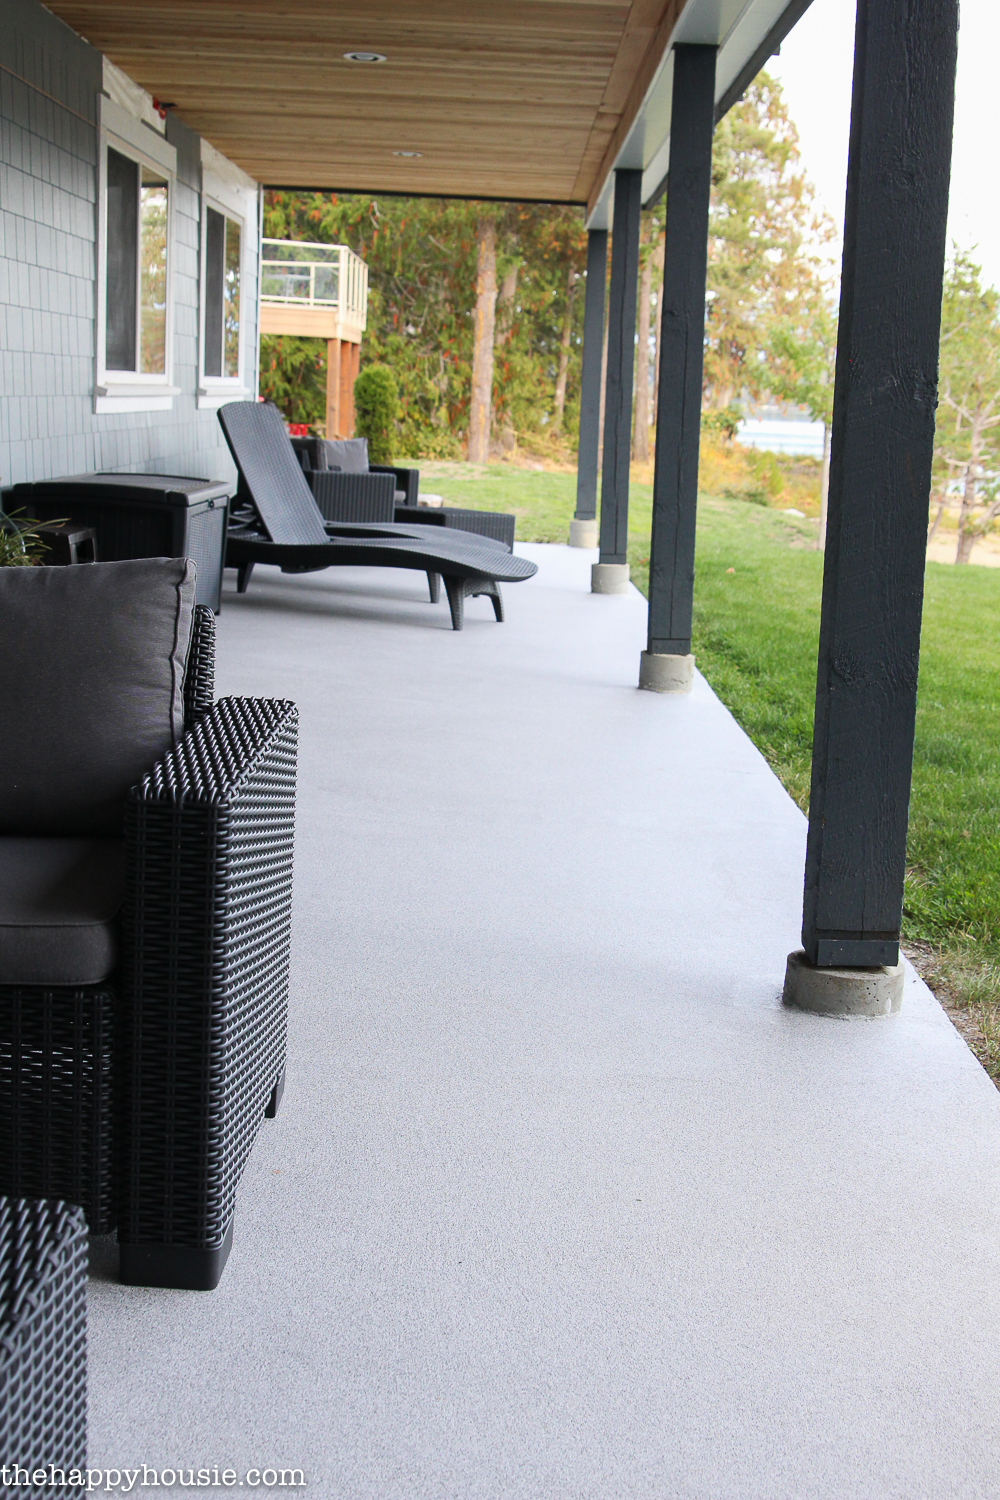
Such an awesome porch transformation!
Before I totally avoided this lower deck area, and now it feels and so make clean, fresh, and welcoming. We are going to finish off the top of the siding, widen the posts with some additional cladding, and then add together a argue forth the lower far end for additional privacy. I tin't wait to utilise this area adjacent year as it'south the simply outdoor patio with any shade in our due south facing yard.
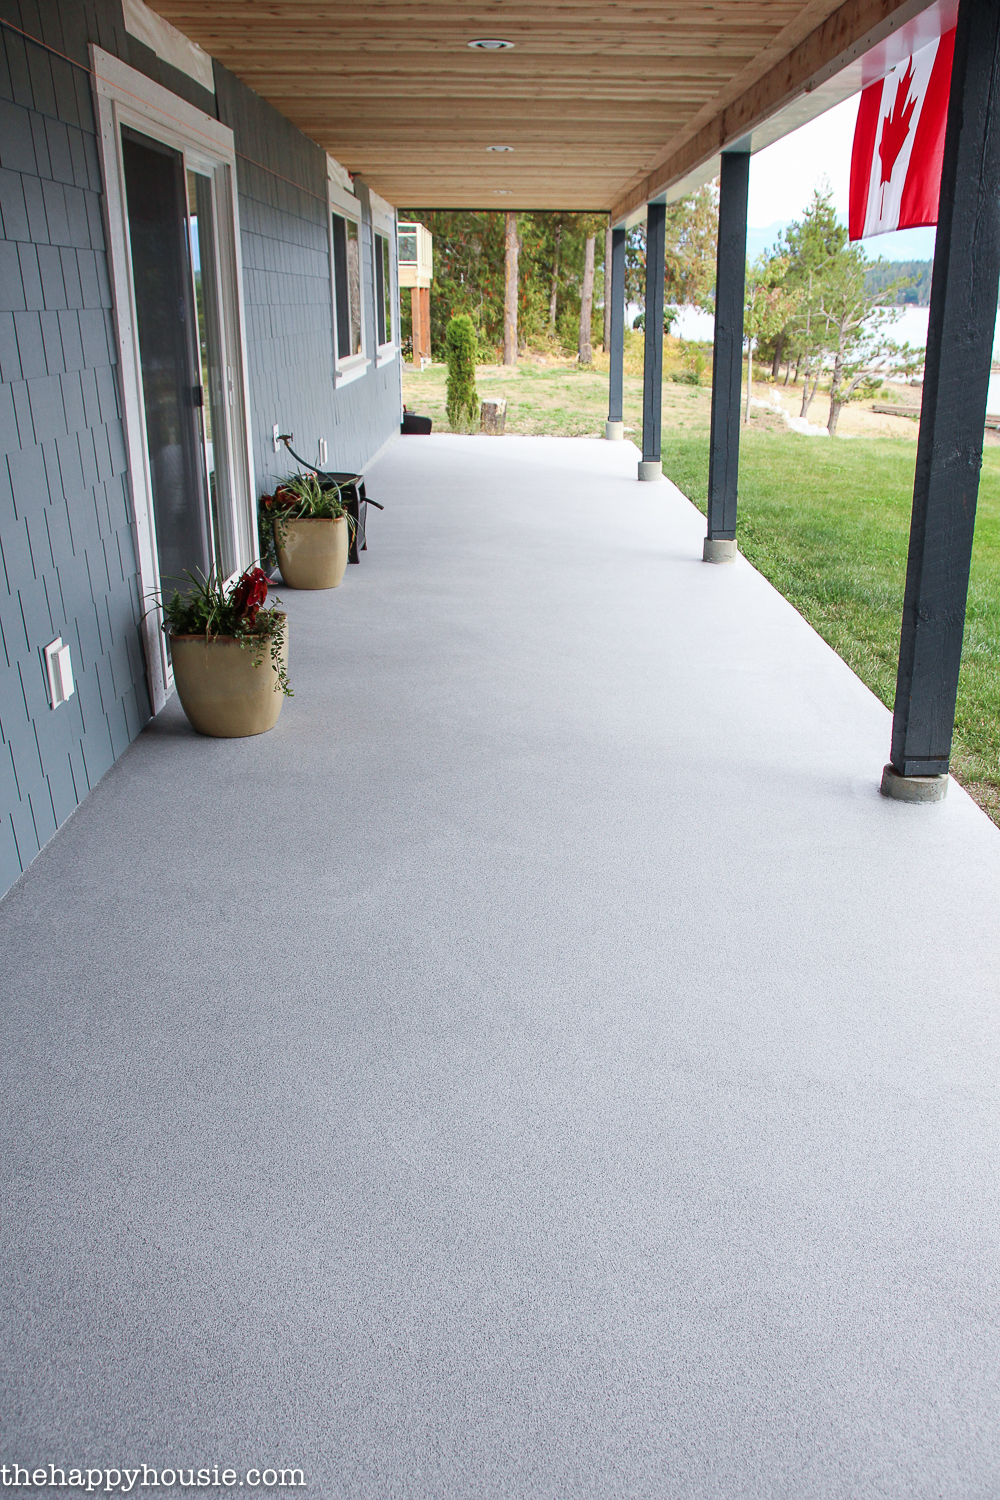
Honestly, I could not be MORE thrilled with the transformation of our patio.
It looks like a completely unlike patio space. It is so much cleaner and fresher and newer… and I know it'due south going to be a beautiful finish for years to come because nosotros did everything nosotros could to follow the steps correctly. And isn't it and so pretty, too??

I honey the transformation!
Check out the departure…
Y'all can find the Rust-Oleum Stone Effects system at your local hardware retailer. Check Rust-Oleum Canada or Rust-Oleum USA for the closest source nearest you!

Disclosure: I worked with Rust-Oleum Canada on this production review. All wording and opinions are 100% my own.
Save Salve
Salve Save
Save Salve Relieve Save
Save Save
Salvage Save
Save Salvage
Save Save
Salvage Relieve
Save Save
Relieve Save Save Save
Save Relieve
Salvage Salvage
Save Save
Salve Salve
Save Save
Salvage
Source: https://www.thehappyhousie.com/how-to-transform-an-old-tired-cracked-concrete-patio-rustoleum-stone-effects/
0 Response to "Want Old Patio Congrete to Look New Again"
Enviar um comentário